6.28.2013

Tons of Cute Layers

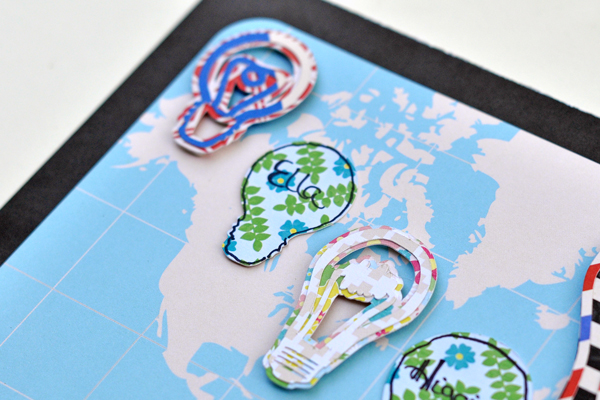
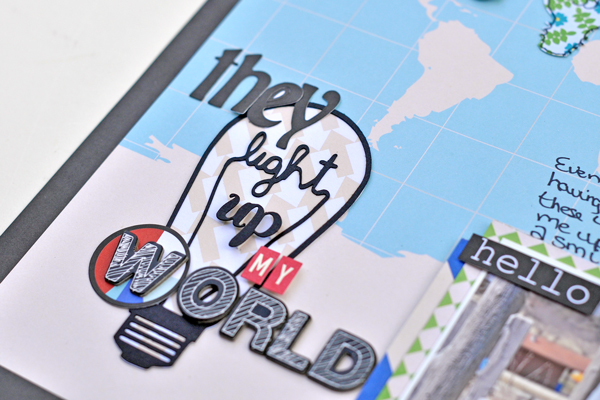
Katrina here with a layout from the collection, Special Delivery.  I will admit that the map paper was intimidating to me at first.  But, I happened to be looking around at cut files and found these light bulb cut files in the TwoPeas store.  Let's just say then the light bulb went off!

K_HuntTheyLight600

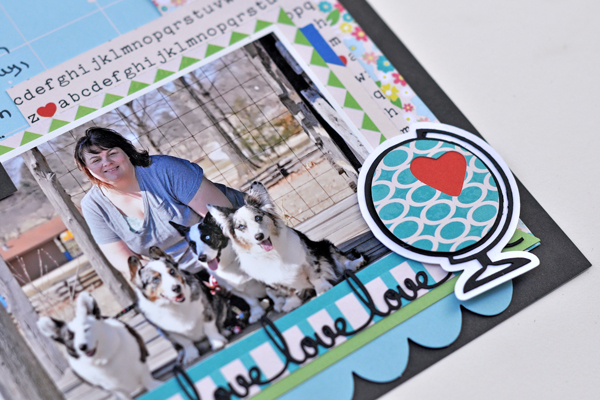
I love this globe cut file and the paper worked perfectly with it.  For my layers underneath my "love" border, I used bits from the Spencer paper.
K_HuntTheyLightGlobe600

I wrote each of the dogs names on the plain lightbulb shapes.  
K_HuntTheyLightSky600

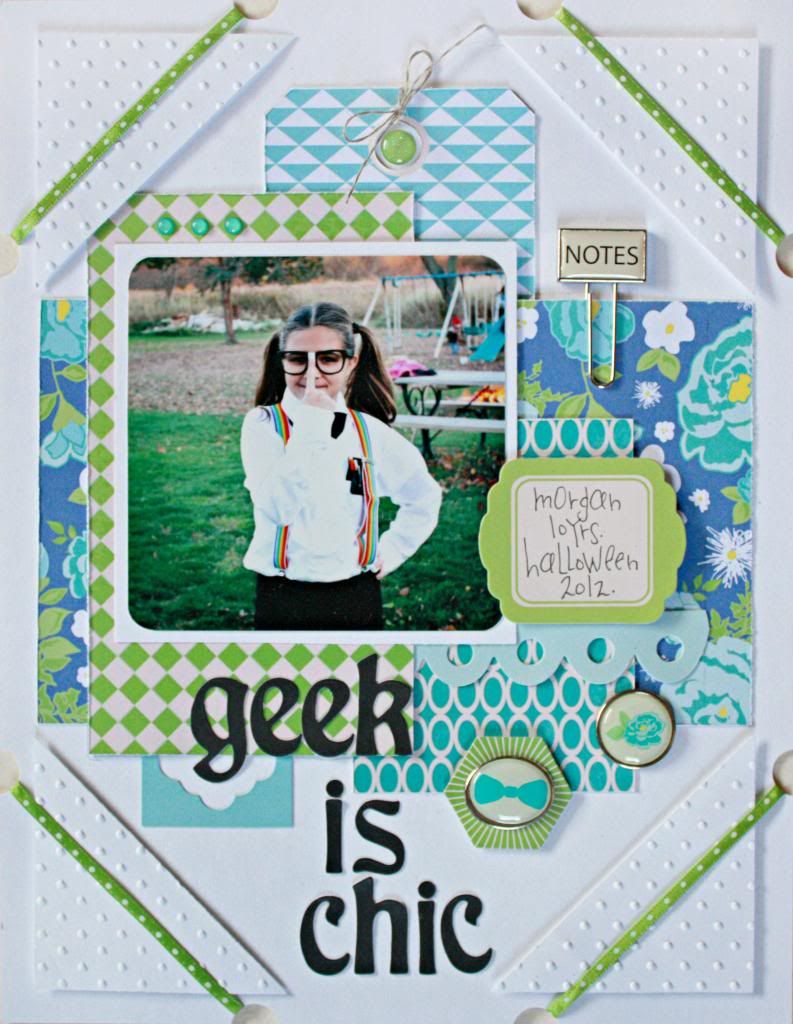
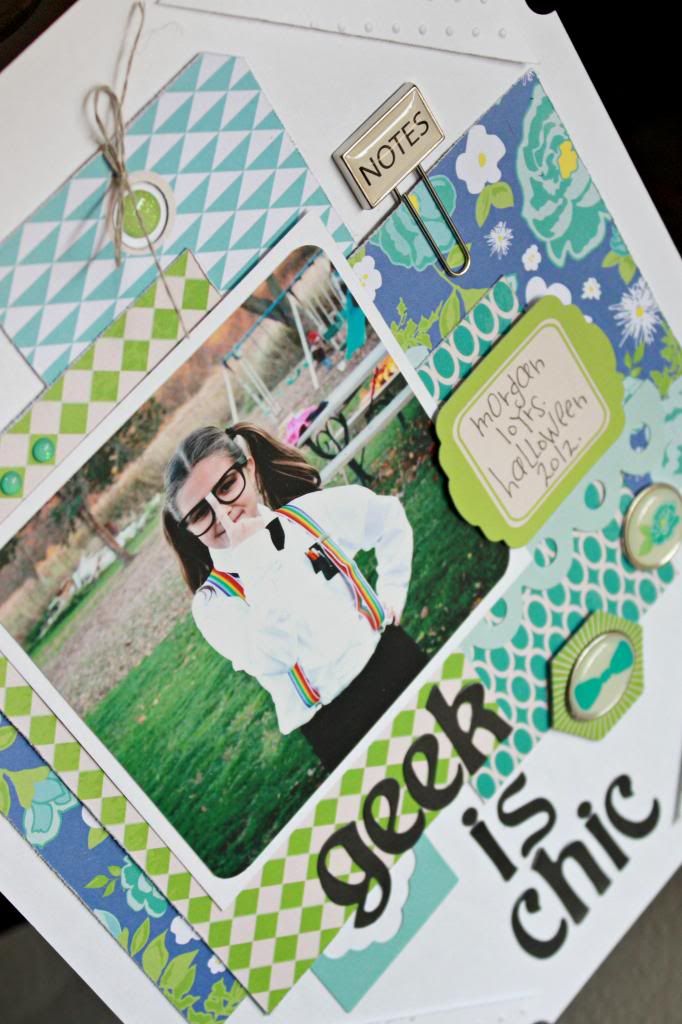
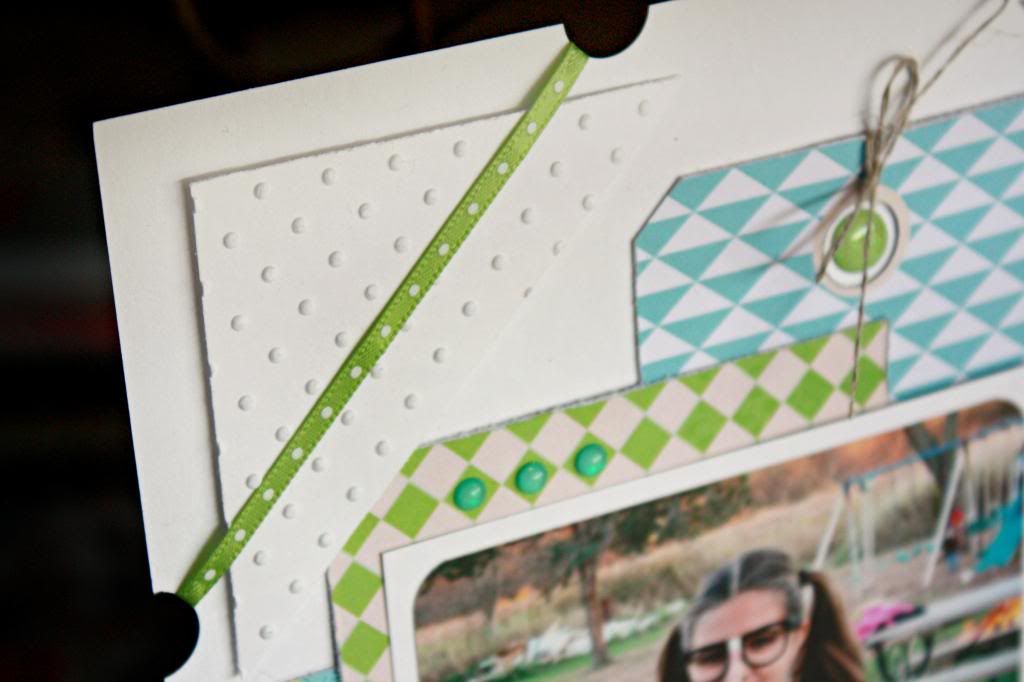
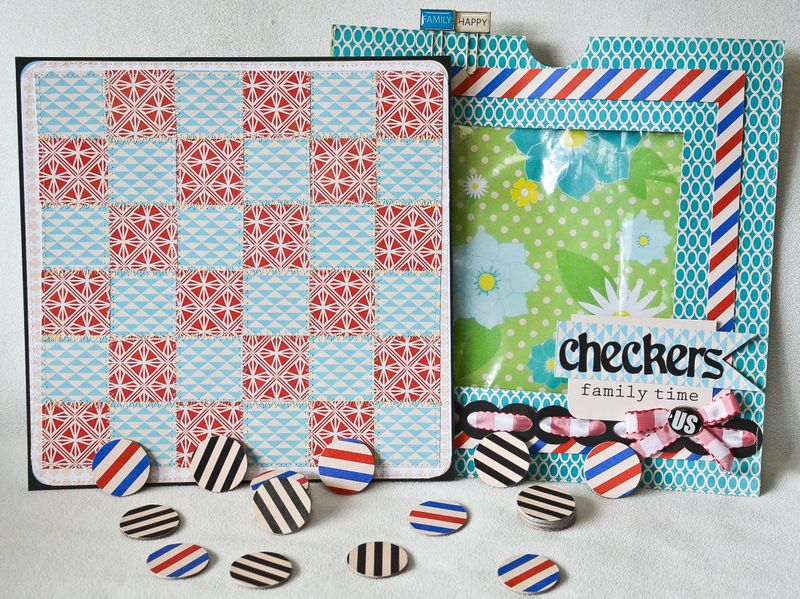
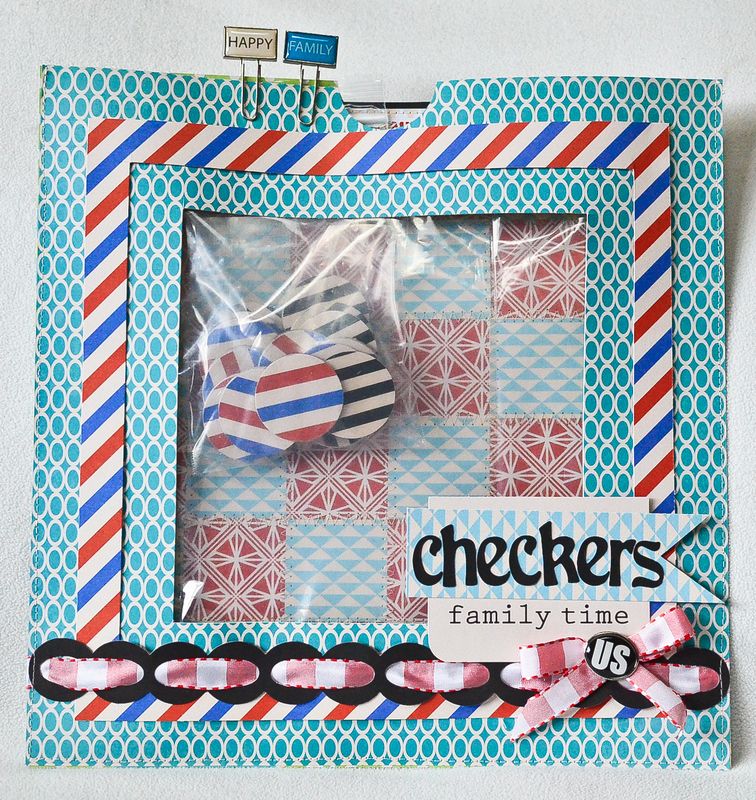
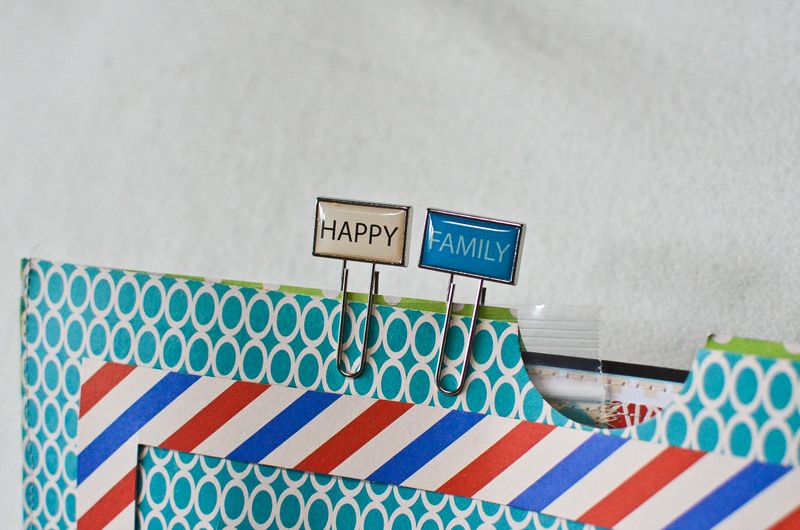
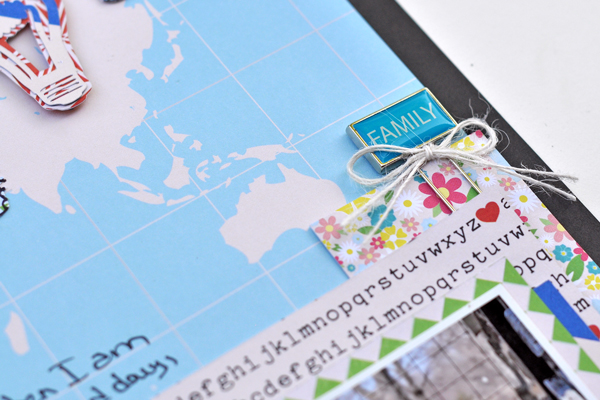
I tied some jute twine on the FAMILY paper clip as a little touch to it. 
K_HuntTheyLightClip600

I used a combination of the letter stickers from Special Delivery, a couple of die cuts and some additional letters for my title.  I tucked the piechart sticker from the collection underneath my "W".
K_HuntTheyLightTitle600

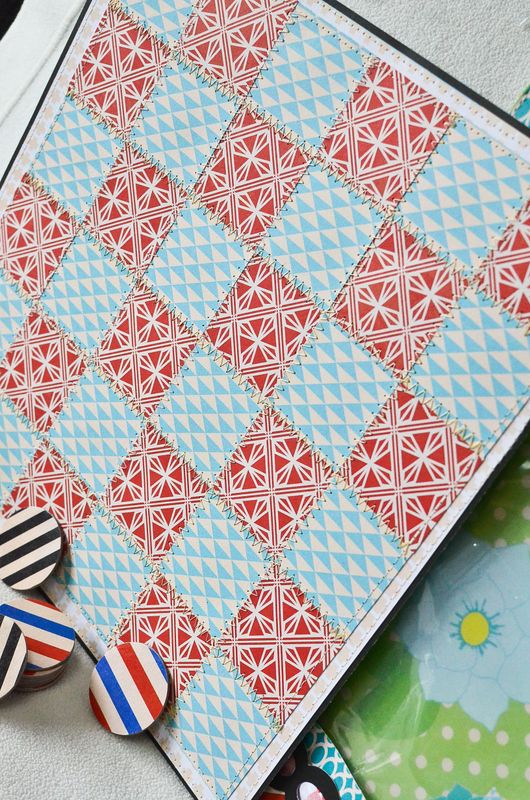
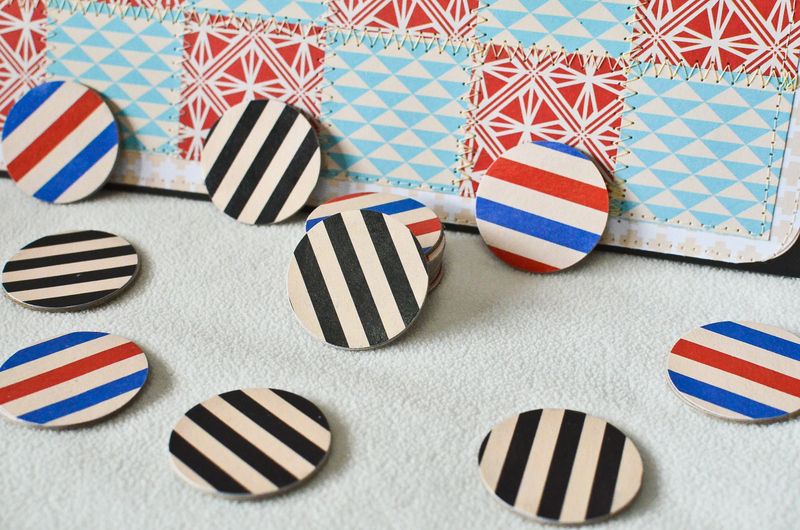
There are so many fun elements in the Special Delivery collection, be sure to pick it up soon!

Supplies: Special Delivery Collection-Papers *2037, *2039, *2040, *2041, *2042, *2043, *2044, *2045, *2047; Paperclips-*2045; Alpha Stickers-*2051; Label Stickers-*2052; Die-Cut Borders-*2055

Other Supplies: Alphas, Silhouette Cameo with die cutting files, Adhesives, Sharpie pen

6.27.2013

You've Got Mail


Happy Summer everyone! Angi here with a fun project for your kiddos. It involves a bit of recycling too. All those brown paper bags that you have lying around will come in handy for this one.

I'm a teacher and I love to suggest fun activities that will help children retain their academic skills during the lazy days of summer. This project will help your children practice their handwriting and send sweet notes to friends and relatives living far away.

Heidi Sonboul's Special Delivery collection is the perfect choice for this project. Just take a look at the mailman on the paper. The text on the paperclip adds a great added touch to your projects too!


Supplies Used: (Special Delivery Collection) - Jack #2043, Guido #2042,  Dillon #2040, Paperclips #2054
Have a Happy Crafty Day!

6.26.2013

Hey Sweet Cheeks

 My daughter has always been mischievous, even as a baby. I really wanted to capture that with this layout. The Special Delivery paper worked perfectly! It's so flexiable, and can be used for girl or boy layouts. The layout is feminine thanks to all the beautiful floral papers, but it isn't overly girly thanks to the vibrant blues and greens.
I added the little strip of journaling in with all the pretty pieces of pattern paper. The journaling it's self is part of a little poem about a mischievous little girl. I cut out the title - "mischievous" with my Silhouette Cameo.

Supplies: GCD Studio's Paper - Special Delivery Collection, Black Colorbok cardstock, Bazzil Basics Kraft, Silhouette Cameo

Thanks for taking a peek!
 photo 2013-DT-Badge-Christina-Collins_zpsac819b58.jpg

6.25.2013

A Special Delivery Layout


Hi! I'm sharing a very girlie layout today featuring the Special Delivery collection by Heidi Sonboul.

Geek is Chic:


This line was PERFECT for this photo of my niece from Halloween last year.  Isn't she the cutest little nerd?


I knew I wanted to do a 'photo corner' look around the whole pages, so I started with that...and than just built everything up from the center.


I measured approximately 2 3/4 inches from each corner, and used a 1/2 inch circle punch to cut notches.


Next...I cut 2, 3 inch squares, embossed them, cut them diagonally, and adhered them to the corners with foam tape. I then topped them off with some thin ribbon...tucking them into the notches.


I thought this was a great way to make the page look 'finished' without looking too busy :)  
Thanks for stopping by today!


GCD Studios Products Used:
Special Delivery 12x12 paper - George #2037
Special Delivery 12x12 paper - Heidi #2041
Special Delivery 12x12 paper - Calvin's Race #2039
Special Delivery 12x12 paper - Jack #2043
Special Delivery - Die Cut Border Strips #2055
Special Delivery - Label Stickers #2052
Special Delivery - Alpha Stickers #2051
Special Delivery - Paperclips #2054
Special Delivery - Brads #2053
Happiness - Glitter Epoxy Dots #1868


6.24.2013

Make Baby Onesie Cards

Making a shaped card without using a die cut machine can be tricky, but I set out to do just that. I found a great tutorial on how to make baby onesie cards using punches and standard card stock HERE. Using the versatile Special Delivery collection from GCD Studio's made finding the perfect papers easy.
I had so much fun making the first card that I created another! 
This card is a bit larger than standard, it measured 5x6inches. I used the pretty papers from the Special Delivery Collection by GCD Studios and my scalloped circle punch to create the trim. A sweet brad also from the collection gives it a finished touch. The cardstock had some texture to it, so I left it be, but you could dry emboss a texture onto plain cardstock if you wanted to.
A close up of the boy card...It is smaller. I started out with a standard 4.5x5.25 inch card base. Again the brads from this collection work great for a boy or girl themed project.
I saw this sentiment and it made me chuckle a bit...hope you do too! Supplies:
Paper-Special Delivery-#2044 Sincerely Yours, #2042 Guido, #2053 Brads
Punches-scalloped circle punch Stampin' Up! and 1 1/2 circle punch

other: label die Clear and Simple Stamps Wida Miller Badge photo 2013-DT-Badge-Wida-Miller_zps32a1aa68.jpg

6.21.2013

A Basket of Treats


Yay for summer! Hello everyone! Angi here with a fun picnic idea for your family.

When I'm having a family gathering out in the backyard, I grab some fun paper and make my own picnic décor. The Special Delivery collection is super fun and festive to use for such an occasion.


I used die-cuts to make the paper baskets. I also added a "family" paper clip and "family time" sentiment to a lollipop stick.

I do have one quick tip to share. It's best to line your little baskets with a coffee filter before placing your food in them. This will keep your basket bright and fresh throughout the day.

Be sure to grab some Special Delivery paper before your next picnic!


Supplies Used: (Special Delivery) - Dillon #2040, Jack #2043, Paperclips #2054
 
Have a Happy Crafty Day!

6.20.2013

Knives, Forks & Spoons

It’s a well-known fact that food tastes better outside. Warmer days urge us to dine alfresco and it couldn’t be a better time to enjoy a picnic. Here's a suggestion for those knives, forks and spoons, adding a little flare to your picnic.
With the help of GCD's Special Delivery collection, I can add a few really great details to my table and make our picnic even more memorable.The red, white and blue really pop adding some festive fun!


For a gorgeous and rustic table setting, fill simple canning jars with silverware, a napkin, and a tag or a rosette that can double as a place card if needed. The tag can be a little take home favor keepsake as well!

This would be a lovely addition to an Independence day picnic while you're camped out by the shore awaiting those fireworks, don't you think?! Thanks for stopping by!

Supplies: Special Delivery collection - Jack, Dillon, Brads, Label Stickers; Punches: Martha Stewart, EK Success; Cardstock: Coredinations; Decorative Scissors: Fiskars; Ink: VersaMark; Dymo and tape; Twine: The Twinery


6.19.2013

Picnic For the Family

Summertime is here and the weather is perfect for picnics in the park.  So why not make those picnic trips something fabulous?
Head on over to your paper stash and whip up a fun picnic.
Here are some simple and fast idea.

Make a utensils holder for all your eating supplies.  
It will stay organized and will be ready for your next trip.

Dress up a boring beverage container.

Make little food signs.  These were just stuck on sticks.

Don't forget the little after snacks treats (doesn't everyone do that).
Make each one personal by adding a different brad to each one.

I hope you are inspired to get out into the sun and enjoy a fabulous picnic.

Products Used:
From GCD Studios "Special Delivery Collection"
Pattern paper in "Dillon", "Guido" and "Jack"
Brads and Alpha Stickers

Lalo Ik Badge photo 2013-DT-Badge-Lalo-Ik_zps7839c6cc.jpg

6.18.2013

Darling Milk Jugs

Hey y'all!  It's Amanda here today.  While I have yet to tire of the mason jar drinks, I thought I would try something different with these cute little plastic milk bottles I found on Etsy.   With summer birthdays in mind, I dolled up the milk bottles to act as functional party favors. 


Each milk bottle comes with it's own label so party goers don't get their drinks mixed up.  I also drilled a small hole in the top of each lid where I could insert the straws.  While not completely spill proof, it is sure to help minimize any mess that kids are bound to make. 


I wrapped the bottles with coordinating patterned paper.  This also helps tiny hands grip the sometimes slippery bottles. 


The straw flags were super easy to make.  I trimmed a strip of patterned paper, folded and stapled it into a small loop, and inserted the straw.  Piece-o-cake! 

Happy summer!

Supplies: From Special Delivery: Calvin's Race 2039, Dillon 2040, Jack 2043, Label Stickers 2052; chevron straws, milk bottles (Cupcake Social/Etsy

6.17.2013

Let's Play!

Fourth of July means BBQ, family time and for most of us, picnic gatherings. So today, I’m sharing a handmade checkers game that can easily be transported to your next picnic party. It will provide lots of fun for you and the family. 


Here’s how you can create your very own game board and envelope storage:


1. Choose your papers. I used a combination of subtle and colorful designed sheets. You will also need some chipboard circles for the game pieces, your sewing machine and mod podge.
2. Work on the game board first. Cut out 1 ¾” squares from two pattern papers. I was able to fit 36 squares on my paper. Adhere the squares on the board*.
*I only used adhesive in the centers of the squares since I was planning on sewing around the edges of each square.
3. Add some zigzag stitching on the edges of each square. 


4. Punch out 12 1 ½” circles from two pattern paper. You will need 24 circles in all.
5. Adhere the circle papers on top of the chipboard shapes. Add Mod Podge on top of the papers (over the chipboard) to make sure it won’t peel off the chipboard shapes. Set aside to dry.
6. Now you need to create the envelope to store the game pieces and board. Pick two papers. Cut out a window in the middle of one of the papers. Mine measured 9 ½” square. Cut a piece of plastic and sew over the cut out window of the paper. Sew the paper with window, to the 12x12 piece leaving the top open. Punch out a circle on the center of the top of the envelope. Embellish the front of the envelope.
7. Create a title for your envelope. I layered some papers and letter stickers from the Special Delivery line.
8. Slip the board inside the envelope. Place the game pieces inside a plastic bag and secure inside the envelope with clips.

and here's some more close ups of the finished project... 


Checkers set
Size:  Envelope storage 12x12; Checkers board- 11x11; Checker circles- 1 1/2”
Products used:
Special Delivery (#2040 Dillon; #2041 Heidi; #2042 Guido; #2043 Jack; #2044 Sincerely Yours; #2045 Bradley’s Travels; #2051 Alpha Stickers; #2052 Label Stickers; #2053 Brads; #2054 Paper Clips; #2055 Die cut borders)
Other supplies: Chipboard circles, Thread, Sewing Machine, Ribbon, Corner Rounder; Circle punch; Adhesives.
Grace Tolman Badge photo 2013-DT-Badge-Grace-Tolman_zpsa3db2794.jpg

6.14.2013

Happy Father's Day

Father's Day is fast approaching and I wanted to make my dad a hip card because that's the kind of guy he is! I love the cool vibe of the arrow patterned paper of the Special Delivery Paper Pack from GCD Studios. I combined it with the bold blue of the "Heidi" pattern for a fun look! 
This card is easy to mass produce and looks like a lot of work but is actually really easy.
Supplies:

Paper-Special Delivery #2046 Spencer, #2041 Heidi, #2055 Die Cut Borders

Stamp-Paper Smooches
other: Silhouette, twine Divine Twine

Wida Miller Badge photo 2013-DT-Badge-Wida-Miller_zps32a1aa68.jpg