WOOT it's Wednesday!
Contact me at hsonboul@gcdstudios.com and please RWW #3 in the subject line
---------------------------------------------------------------------------------------
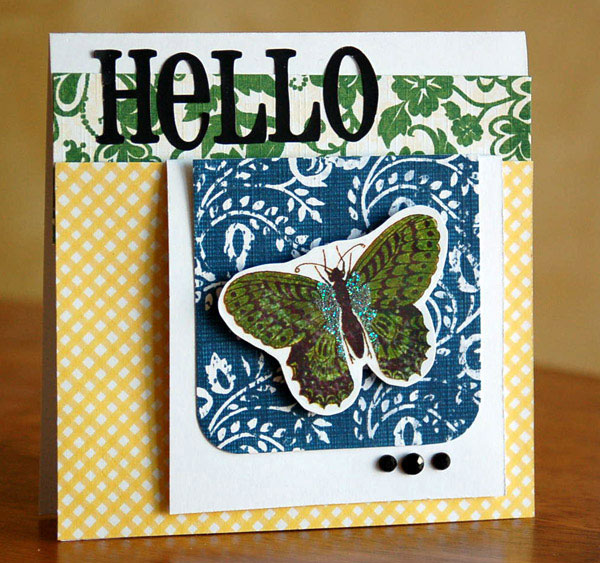
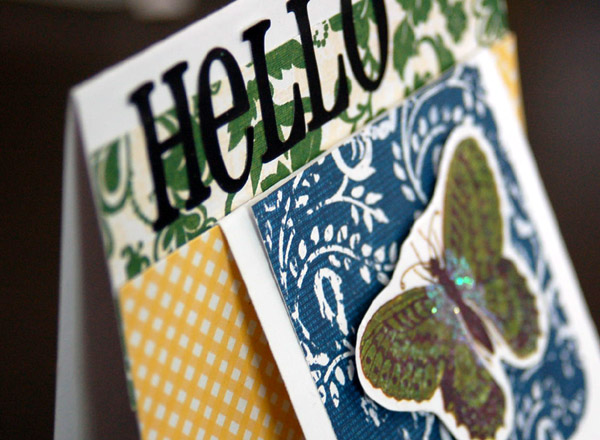
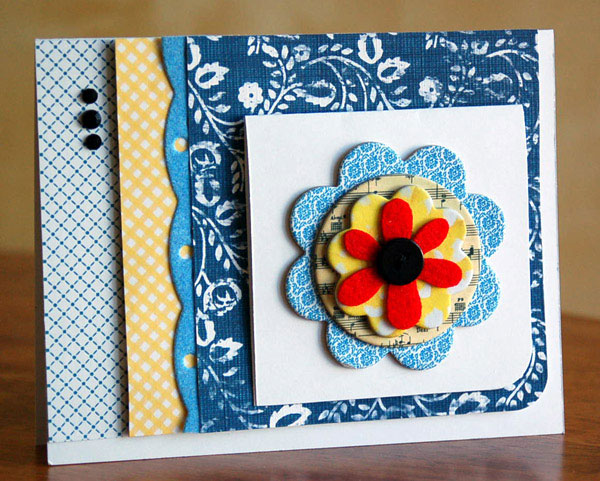
Today I have this beautiful card created by our Guest designer Jen.
She took a few strips of pattern paper and ruffed them up. Then by layering them, you have a fun and simple design. Thanks Jen!

-----------------------------------------------------------------------------------------
Hi there! Kristen here with a new inspiration decor item.
Our theme this month are these little nesting dolls, with lots of color and different bits, it inspired me to create a decor item for my scrap room.
I wanted to create something meaningful to me, and so I created this darling sectional mini cabinet.
It's all about creating art, with phrases and beautiful colors and glitter and fun items.
To create this cabinet you will need
Homespun Chic Collection- Applique, Homespun Garden, Homespun Mod, Vintage Audrey, Vintage Birdy, Vintage Jane, Pink Sparkle papers, Epoxy stickers, Felt Flowers, Vintage Buttons, Die Cut Borders, Textile Tags, Word Strips, Chipboard Ladies, Vintage Labels, Textile tags
Ava Collection- Flutter paper
Chipboard tools- Sparrow Alpha Letters, chipboard tags, and Butterflies stamps
other- pink rickrack, gems, twine, black mist, silver metallic rubons, buttons, butterfly punch
First, I measured and cut each inside rectangle shape with a different paper. I made the Create tag by first debossing the tag with the butterfly stamp and letters for Create, then spraying the tag with a black misting spray. When the tag was dry, I lightly rubbed the front with silver metallic cream rubons.
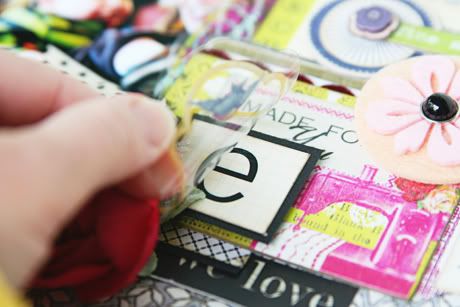
I decorated the inside of each part differently with tags, stickers, fabric tags, chipboards, punches, buttons, and epoxys.
Once the insides of the boxes are done, start decorating the edges of the frame. I added the chipboard lady, and the chipboard word strips.
I then added the border strips, adding foam tape between each layer. I handcut three clouds, adding them to the top right corner. And punched several butterflies, adding gems to their centers.
I also cut several small triangles with various papers, punching tiny holes in the corners. I threaded them onto a strand of twine, knotting the ends and using glue dots to hold them in place.
For the bottom of the piece, I added two border strips, fussy cutting out three roses from another border strip, and hand cutting several leaves from green gingham paper. I finished the bottom with pink rickrack.
I hope you have enjoyed my themed project today!


