
I have a tutorial to share that I'm pretty excited about. I just love making paper bow embellishments and today I'm gonna show you all how I do it.
Were going to start out by making a template. True you don't HAVE to, but it really does make the whole process easier in the end, plus you can keep it and whip it out next time you want to make a paper bow :)
1. Start with a strip of cardstock. You want it to be as wide as you want you're bow to be and twice as long.

2. Fold the cardstock strip in half, then in half again.
 3. Put two marks on the cut edge of the cardstock, dividing it into thirds.
 4. draw straight lines in from your marks, about as long as they are from the edge of the paper. Then draw curved line to the edges, meeting the edge about 2/3 of the way to the fold.
 5. Cut along the lines you've drawn through all the layers of cardstock.
 6. Open to reveal your finished pattern.
7. To start making your bow, trace your pattern onto a piece of paper.
 8. Cut it out.
 9. Place a small piece of dimensional adhesive in the center, fold ends in and adhere.
 Starting to look like a bow!!
 10. Place another piece of dimensional adhesive on the front center, cut a small strip of matching paper wide enough to cover it and adhere.
 Looking even more like a bow!
 11. Now to make the tails. Trace the end of your bow pattern on a piece of paper that is as long as you would like your ribbon tails to be.
 12. Trim and cut the end as desired. I've added a dovetail to mine, but you might prefer just a diagonal cut. Repeat for the second tail.
 13. Adhere your tails to the back of your ribbon and voila! A perfect paper bow.
 I made a couple cards to share how I like to use them.
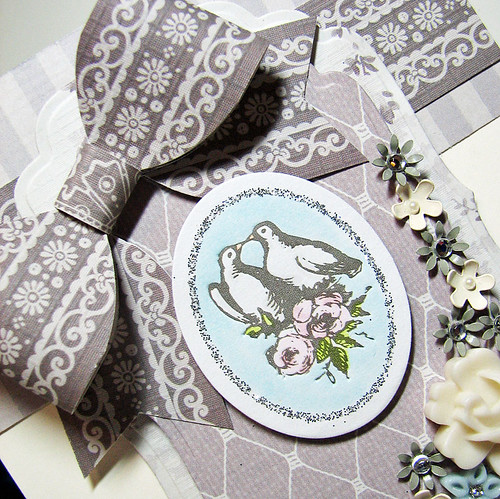
First up a classically elegant wedding card.
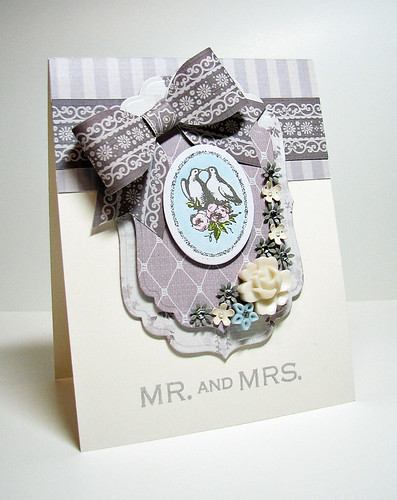
I used papers and embellishment from the exquisite Sweet Surrender collection to compliment my bow. The flowers are brads and cabochons and the focal image is a letterpress sticker that I jazzed up with a little color courtesy of Copic.
Another card, this one falling more into the cute category.
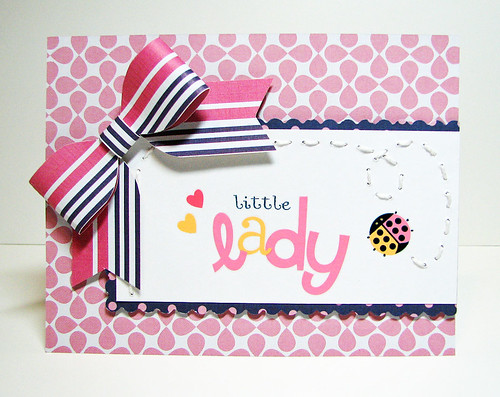
For this one I broke out the Animal Crackers for Girls collection and made something I think works equally well as a baby or birthday card. How CUTE is that little lady bug rub on?
So what do you think? Is this something you would try?

Soooooooooo AWESOME!! I loveeeeeeeee this Heidi!! Thanks for sharing and the cards are GORGEOUS! :):):):):):):):):):):):):):)
ReplyDeleteGorgeous! You NEVER cease to AMAZE Heidi! Thanks for the tutorial!
ReplyDeleteNow this was a simple to make, but great looking bow! Thank you for sharing this one because I always have problems with these.
ReplyDeleteBeautiful cards!!!!
ReplyDeleteooh, love this tip, and your projects are beautiful as always Heidi!
ReplyDeleteAmazing bows and gorgeous cards!
ReplyDeleteLove that Bow!!
ReplyDeleteWhat a gr8 Idea & Gorgeous Cards........
xx