I am amazed at the many things we can create with paper. The
possibilities are endless. Since it’s the summer month, I decided to push the
envelope a little and try to create a beach bag from paper. I’ve sewn bags
before so I used that experience to put this project together. I made a few changes since the paper cannot
be turned over after stitching and at the end, I found that nothing is
impossible with paper and a dose of the right inspiration.
Instructions:
1. Cut a 3” wide strip from 12x12 paper. Score the two long
ends on the ½” marks and fold. Repeat the process on another strip.
2. Sew the strips on two 12x12 sheets of identical
papers. To connect all strips, sew a
stitch on the last fold and then adhere the edge to the paper. *Since this is
paper and cannot be turned over to its right side so you will create the look
of sewn edges without actually sewing the last strip to the bag.
3. Cut another 3” wide strip and score the long ends on the ½”
marks. Add adhesive to the folded parts and adhere on the bottom of the bag.
Add a die cut border on the front side of the bag.
4. Cut 4 1 ½” strips from 12x12 paper. Score the one of the strips on the ½” mark,
fold and overlap two together. Connect the strips with some machine stitch.
Repeat the same process on the other two strips to create handles.
5. Round corners of the handles and place on the top center
of the bag. Attach some big buttons on both ends with embroidery floss.
6. Decorate the front of the bag with paper, flowers and
stickers.
*This bag is for decorative purposes only. Using it near or
in water will damage the bag.
Here are some close up look at the finished project..
Summer Lovin’ Paper Beach Bag
Size: 12 x 22”
Products Used:
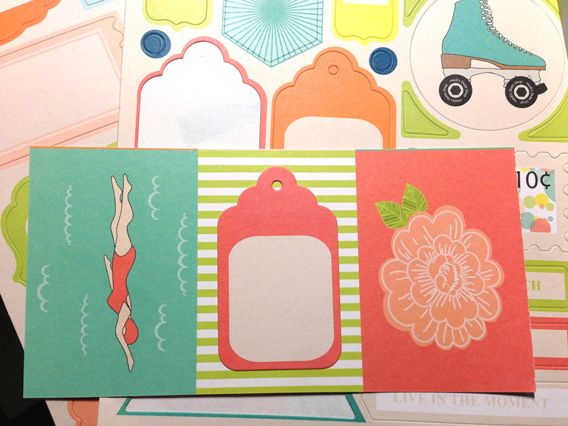
Sunkissed (#2057 Sassy Swimmers; #2061 Pretty Swimsuit; #2065 Tickled with sunshine; #2033 Label
Stickers; #2036 Die cut borders)
Other Supplies:
Flowers, Buttons, Embroidery Floss, Photo Corners, Thread,
Sewing machine, Corner Rounder punch, Adhesive
Have a fantastic day,
Grace



.jpg)

.jpg)
.jpg)
.jpg)
.jpg)













.jpg)
.jpg)
