
Hi! I am so excited
to be the guest designer for GCD this month and I would like to thank Heidi and
the GCD team for their kindness and for this great opportunity.
Like most of you, I love all the great styles, techniques, and product that are used in scrapbooking today. I have always been the crafty type, but have really been bitten the scrapbook bug in recent years. My first scrapbook was created over 15 years ago. At that time, I had seen a 'talking' scrapbook and thought it would be a great way to celebrate my parents 40th wedding anniversary. So I bought the 'talking' book, some paper, some stickers, and got to work. I have loved scrapbooking ever since. My latest obsession with scrapbooking started about 3 years ago, and I haven't stopped since.
I often get asked what my scrapbook style is. There isn't a good pre-defined definition, so I like to use the word 'chameleon'. I like to try new techniques and designs, so you may see pages from me that encompass the meaning of 'white space' all the way to an artsy, grungy page.
Many of my layouts are of my two French bulldogs, Moose & Flikka. My kids are grown, so they don't cooperate much with my photo taking and scrapbooking obsession, so the next best things are my four legged friends.
Besides scrapbooking, my other obsessions include: 1) taking photos with my phone. I just LOVE phone apps and love the cool effects that are created using them. 2) Ice Cream. You scream, I scream, we all scream for ice cream :), and 3) eyeglasses. I have over 15 pairs of eye glasses. Since I'm unfortunate to have to wear glasses, and I can't wear contacts, I wear glasses as a fashion accessory. I have all styles of glasses, normal to funky and all styles in between.
I wish to thank GCD again for allowing me this opportunity and for creating such fun, colorful, and fresh product to play with.
{I used my silhouette exclusively for this coupon book, but the coupon book can be replicated using office supplies, scrapbook paper, and scrapbook stickers}
For the cover of the coupon book, I cut a piece of patterned paper slightly larger than the envelope and added a medallion (created with several punches and cut banner pieces) and the title. I attached all the coupon envelopes together with 2 binder rings. Once you have the envelope and coupon tags created, the rest of the coupon books goes together rather quickly and easily.
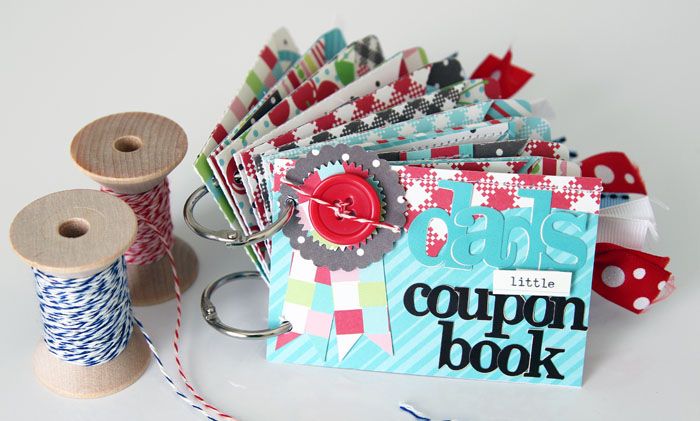
Each coupon consists of a coupon envelope and coupon tag. For my example, both of these were cut with my Cameo, but you could replace these with a coin envelope and manila tag purchased from an office supply store.
I cut several envelopes and tags from the 'Country Charm' collection. This collection was perfect for the little coupon book as the designs are playful and bright.

For each tag, I cut a smaller tag out of cardstock for the actual coupon details and adhered it to the larger coupon. I added a hole reinforcer to each tag and tied a small piece of ribbon to each tag.
For each envelope, I cut coordinating shapes for the outside of the envelope. Again, I cut all of these designs with my Cameo, but you can use pre-designed stickers and embellishments for your envelopes. For example, I cut a car for the 'One Car Wash' coupon and a vacuum cleaner for the 'Day free of cleaning' coupon.


Also, when all coupons have been used and validated, you can disassemble the coupon book and use the cute envelopes on future layouts and cards.

Product List
GCD
Paper: Country Charm, 'Weekend Fun', 'Handycraft", "Picnic Blanket', 'Farm Field Stripe', 'Country Bloom', 'Cherry Pie'
Misc
Cardstock: American Crafts; Alpha Sticker: Prima Marketing; Ribbon: Michaels; Vintage typewriter; Sewing machine and thread Silhouette Cameo
Thanks for having me today....
Tina Walkers Guest Designer
----------------------------------------------------------------------------------------------------
----------------------------------------------------------------------------------------------------

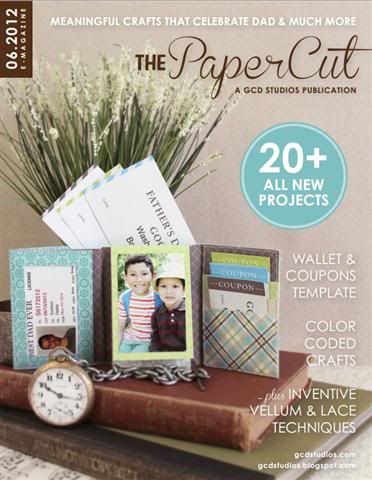
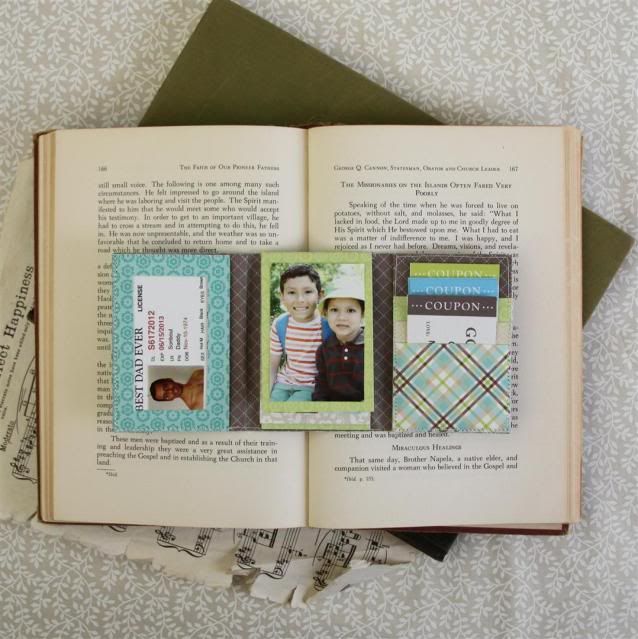
Father's Day is right around the corner and you all know how much I love celebrating anything that comes to town. In this months issue of The PaperCut, my buddy Heather Tozzi and I designed this wallet. After I photographed the cover, I knew this wallet needed to be shared. I took pics along the way as I worked on it and I really think you should try it. First click on this link, type in the coupon windows and print it all up
.
.
.
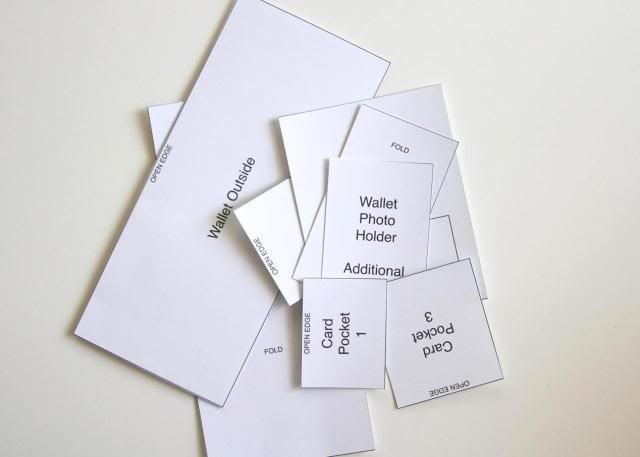
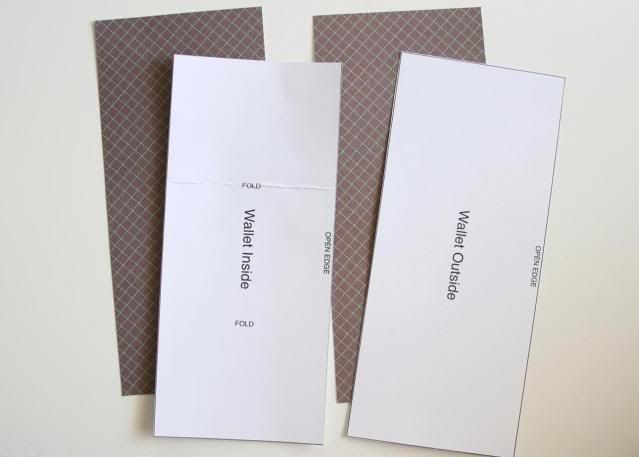
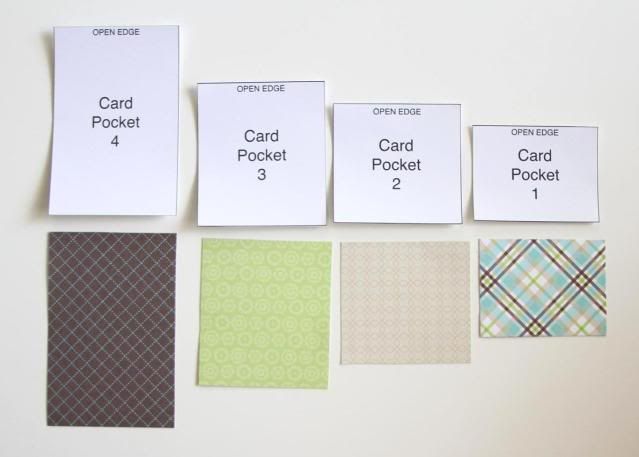
Once you have everything all printed... cut out all the templates
Now decide what papers you want to use and cut them out
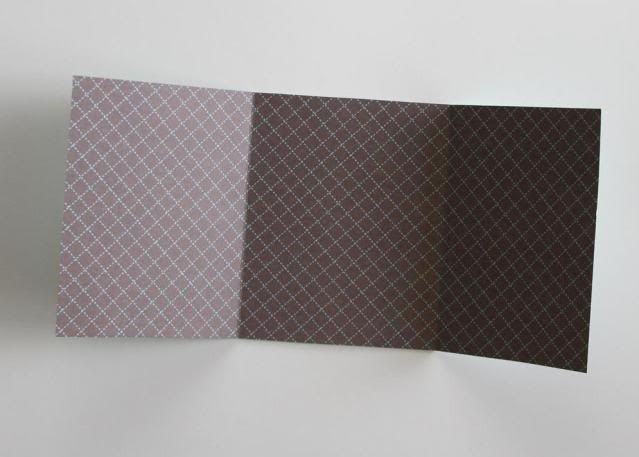
Fold here
This is the credit card part.
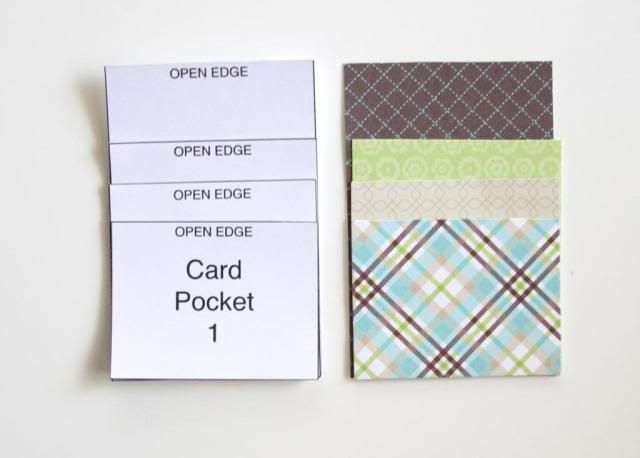
Lay them on top of each other
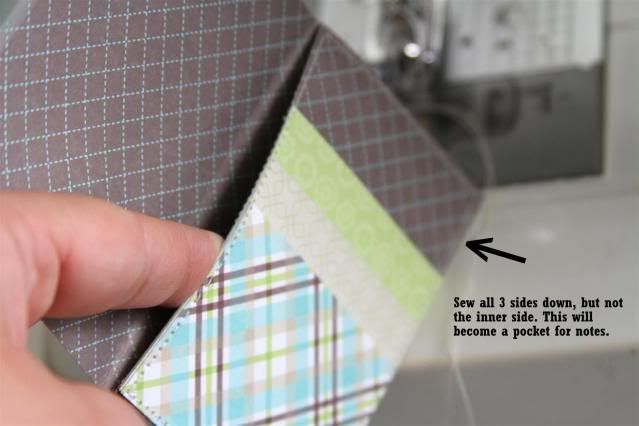
Only sew the left side first. If you don't want to sew on this project...you can just use glue, but I think the sewing makes it look like a wallet. Just a thought.
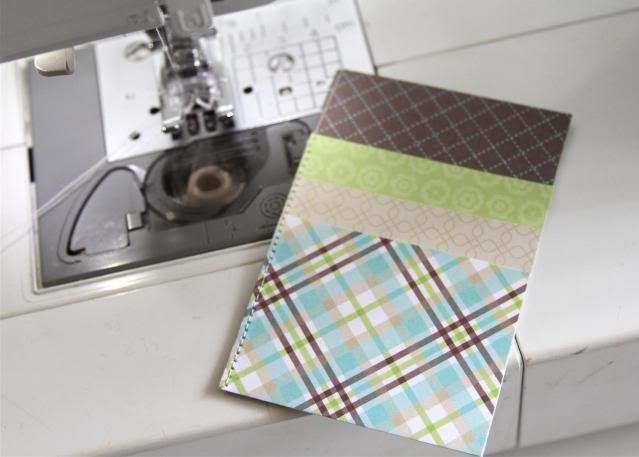
See... it make a little pocket.
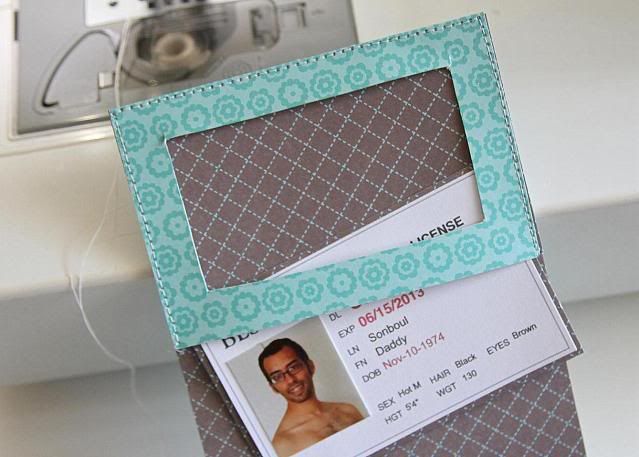
Time for the ID...
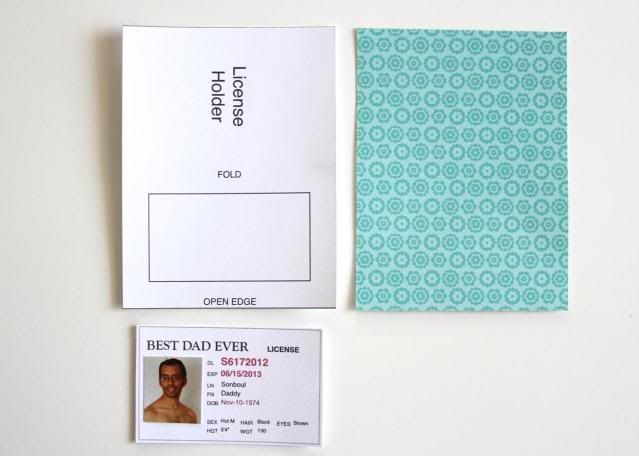
Use a craft knife to cut out the ID window. Make sure to fold the paper BEFORE you cut the window out. It makes it harder to fold after you do.
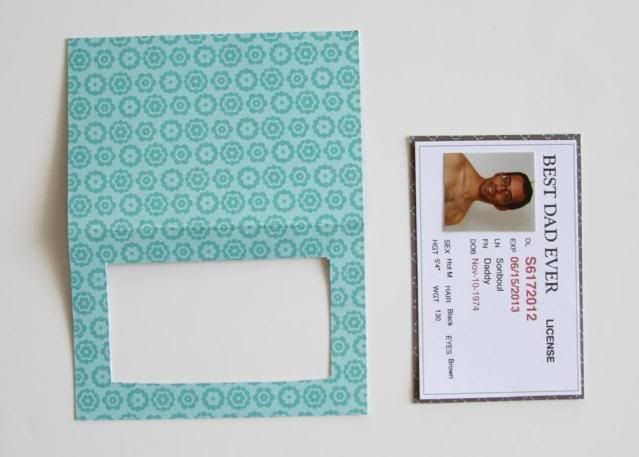
Sew the Id Window to the wallet, leaving the bottom open. This will also give you another hidden pocket for note and art work from the kiddos :)
Now cut out the wallet photo holders
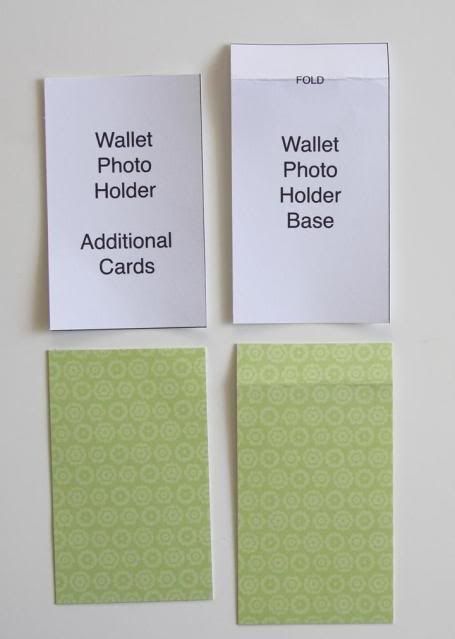
I cut out an extra, so I could add in more photos. I like photos :)
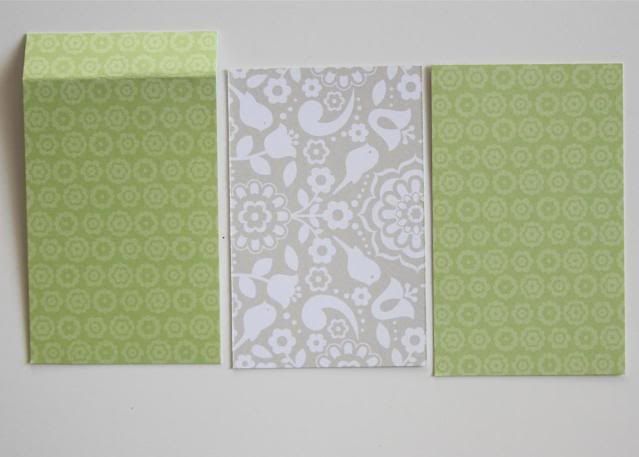
Now sew or glue them down.
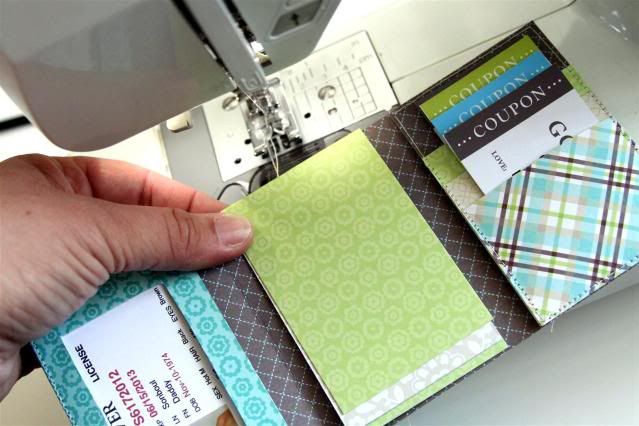
Add the photos you like :)
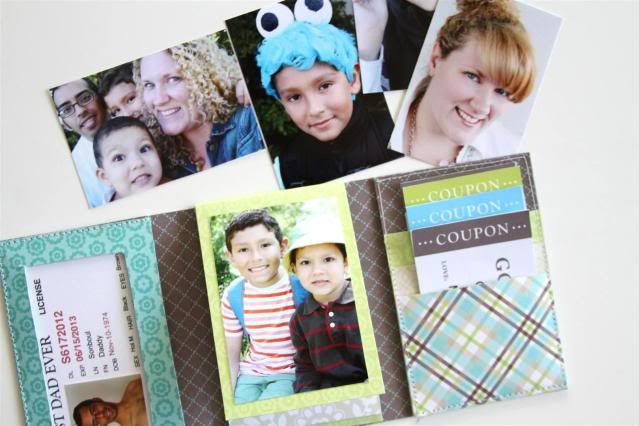
When you are done... you'll have something fun and adorable...just manly enough for Dad.
I hope you enjoy this project and your "dad" loves it.
~H

Congrats Tina on being featured at GCD Studios Blog! Love how you've chosen the Country Charm paper for a Dad's Day project :) Love the TV and the clock you created! So fun!
ReplyDeletevery cute ideas for father's day!
ReplyDeleteCongrats Tina on being GCD's GDT!! That is so exciting!! I love love love love your coupon book and loveeeeeeee your wallet Heidi! GORGEOUS!!!!!!!
ReplyDeleteWow! Brilliant idea and the wallet is amazing:-D, So creatively it is designed and its looking awesome:) I need to try these or get this kind of wallet:)
ReplyDeleteDad's - needs an apostrophe to show possession
ReplyDelete