

1. Start by cutting a 3"x12" piece of paper.
 2. fold it in half lengthwise.
3. starting on the folded edge, cut slits about 1/8" to 1/4" apart along the entire length of the paper.
 4. once the slits have been cut, glut the un-cut edges together.
 5. Adhere one end of the paper strip to a support stick, like a skewer or thin dowel.
 6. Begin rolling the strip around the stick.
 7. When you have rolled the entire length of the paper onto the stick glue the loos end down.
 8. Start opening up you r paper flower by pulling the "petals" down one at a time startin from the outside and working toward the middle.
 Your finished flower should be full, round and ready to go!
 I decided to make a late summer/fall center piece for my table with my flowers and one of these carvable faux pumpkins from the craft store.
 I simply cut an opening in the top and started filling it with flowers.
 I created 9 flowers using papers from the Soul Food and elementary My Dear collections along with some die cut leaves and one of my paper bows (Tutorial Here) to create the finished arrangement.
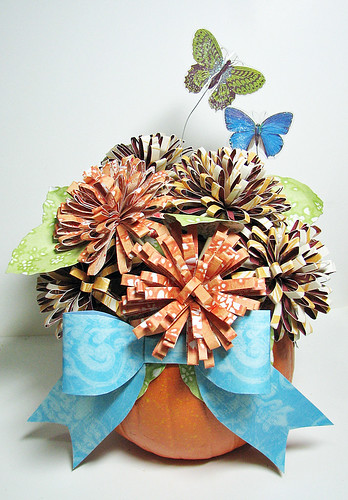
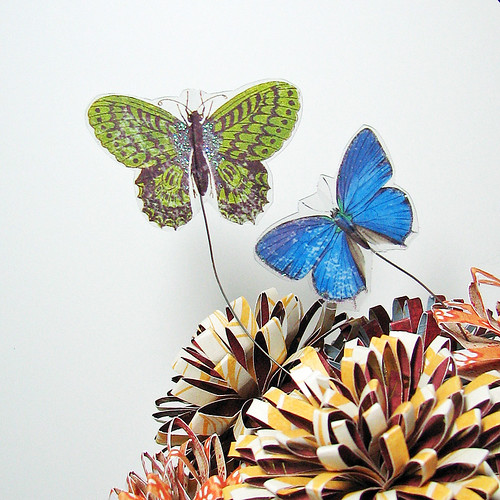
I even added a couple of butterflies using stickers from the Artsy Urban collection placed on wires.
I will definitely be doing more with these flowers, because I kind of love the way they turned out :) Hope you will give them a try too.
Have a fabulous day!

Beautiful!!!
ReplyDeleteWhat a great idea!!very beautiful
ReplyDeleteWowwwwwwwwwwwww! This is AMAZING!! LOVE it!!! Such a fab decor idea! :):):):):):):):):):):)
ReplyDeleteThese are supercute! Thank you for the tutorial- will have to give these a try!
ReplyDeleteThis is amazing, seriously you could see this!!!!! Very cute indeed!
ReplyDeletee.
Seriously, love, love, love these, H!
ReplyDeleteLOVE, LOVE, LOVE them!
Teri
Check out my blog for my comparison/changes to my re-creation of this pumpkin.
ReplyDeleteThe bow is pretty rough on mine, I need to practice, but I didn't have enough paper.