
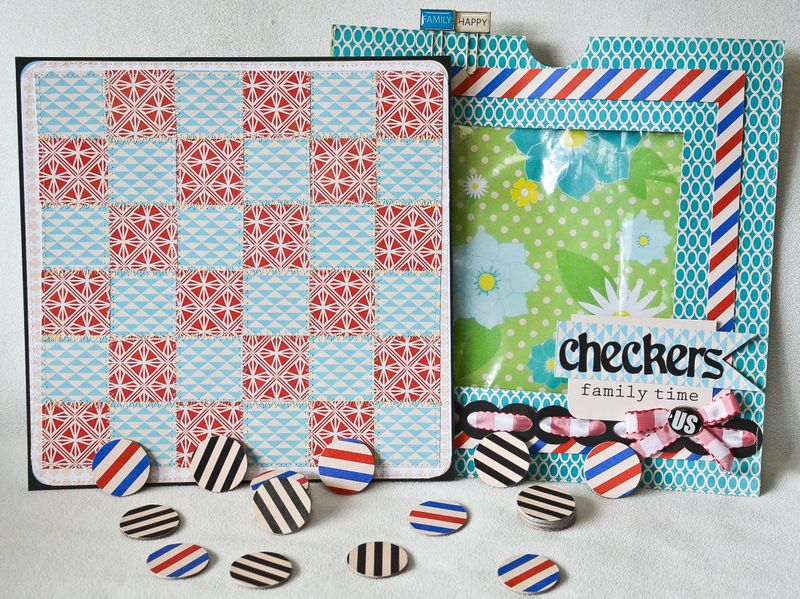
Fourth of July means BBQ, family time and for most of us, picnic
gatherings. So today, I’m sharing a handmade checkers game that can easily be transported
to your next picnic party. It will provide lots of fun for you and the family.
Here’s how you can create your very own game board and envelope
storage:

1. Choose your papers. I used a combination of subtle and
colorful designed sheets. You will also need some chipboard circles for the
game pieces, your sewing machine and mod podge.
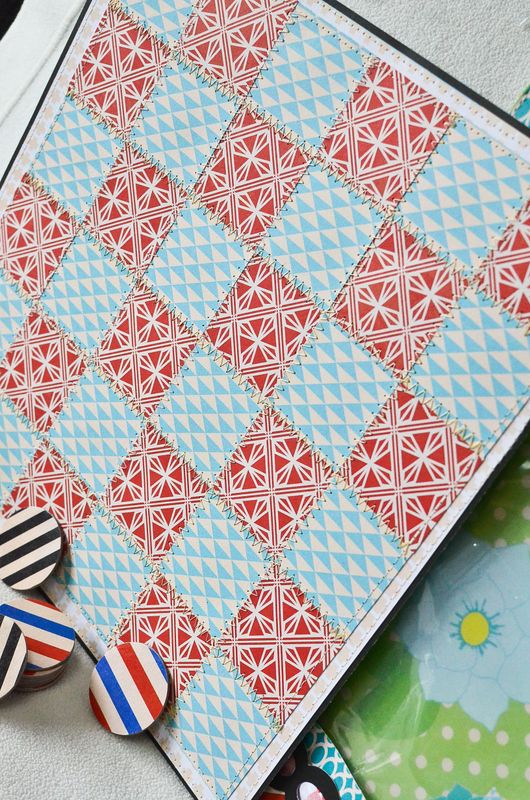
2. Work on the game board first. Cut out 1 ¾” squares from
two pattern papers. I was able to fit 36 squares on my paper. Adhere the
squares on the board*.
*I only used adhesive in the centers of the squares since I
was planning on sewing around the edges of each square.
3. Add some zigzag stitching on the edges of each square.

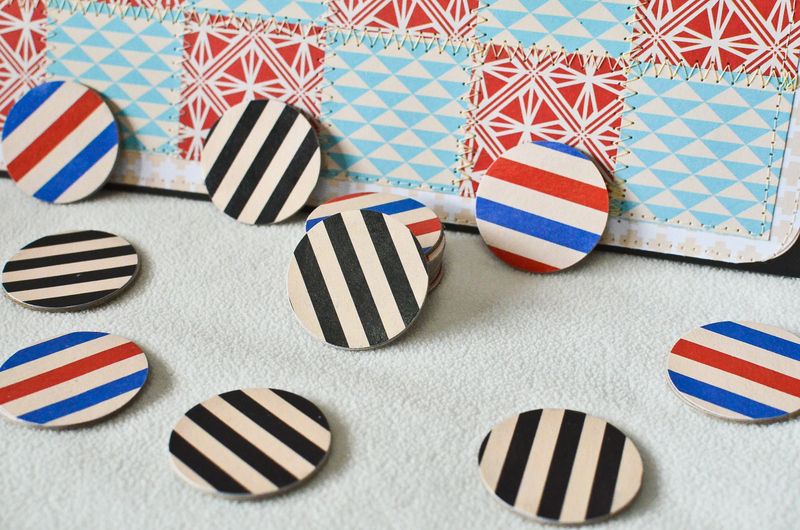
4. Punch out 12 1 ½” circles from two pattern paper. You
will need 24 circles in all.
5. Adhere the circle papers on top of the chipboard shapes.
Add Mod Podge on top of the papers (over the chipboard) to make sure it won’t
peel off the chipboard shapes. Set aside to dry.
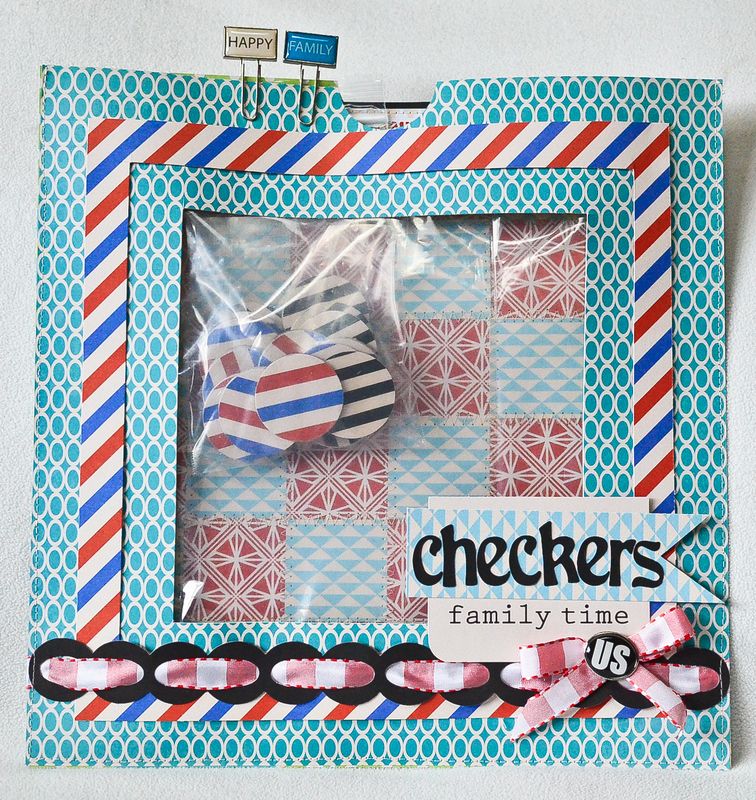
6. Now you need to create the envelope to store the game
pieces and board. Pick two papers. Cut out a window in the middle of one of the
papers. Mine measured 9 ½” square. Cut a piece of plastic and sew over the cut
out window of the paper. Sew the paper with window, to the 12x12 piece leaving
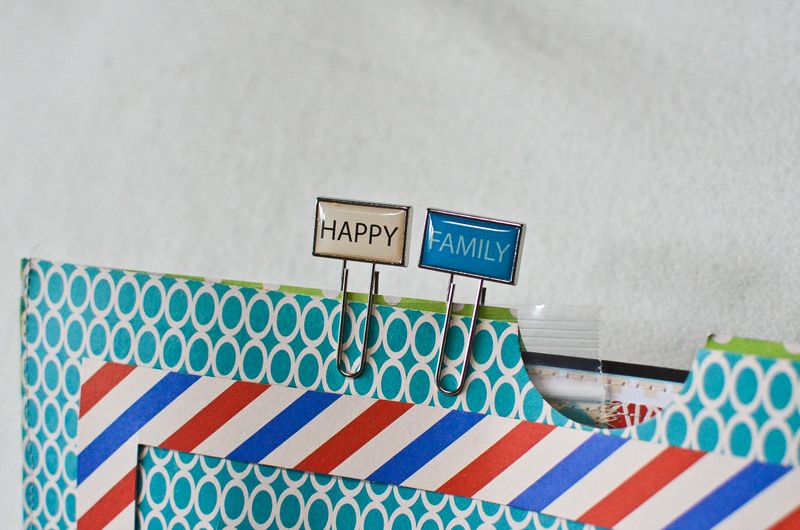
the top open. Punch out a circle on the center of the top of the envelope.
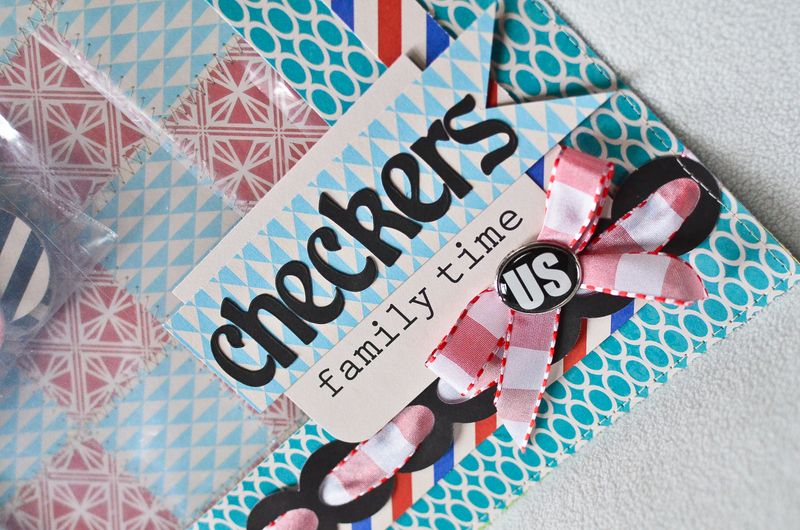
Embellish the front of the envelope.
7. Create a title for your envelope. I layered some papers
and letter stickers from the Special Delivery line.
8. Slip the board inside the envelope. Place the game pieces
inside a plastic bag and secure inside the envelope with clips.
and here's some more close ups of the finished project...
Checkers set
Size: Envelope
storage 12x12; Checkers board- 11x11; Checker circles- 1 1/2”
Products used:
Special Delivery (#2040 Dillon; #2041 Heidi; #2042 Guido;
#2043 Jack; #2044 Sincerely Yours; #2045 Bradley’s Travels; #2051 Alpha
Stickers; #2052 Label Stickers; #2053 Brads; #2054 Paper Clips; #2055 Die cut
borders)
Other supplies: Chipboard circles, Thread, Sewing Machine,
Ribbon, Corner Rounder; Circle punch; Adhesives.
Grace, this is such a fun idea! I have some of those chipboard circles, too. What a great way to repurpose them!
ReplyDeleteWow Grace! What an awesome project!! :)
ReplyDeleteSo ADORABLE!! Totally pinning this!!!
ReplyDelete