

1. Start out with an inexpensive plastic mask.

2. I wanted a slightly different shape, so I trimmed the nose portion and bent the sides back. you can do this or leave the mask as is.

3. Use the mask as a template to cut a piece of felt. Set it aside for now, but you'll need it later.

4. Then use the mask as a template to cut the paper that will cover the front. Draw about 1/4" away from the mask edge all the way around and then cut along the line.

5. After you cut the paper generously apply Modge Podge to both side of the paper until it becomes flexible, but not soggy. I use a sheet of wax paper to protect my work surface.

6. Next, while the Modge Podge is still wet, cover the front of the mask with the paper, wrapping the edges around to the back.

7. Cut slits in the eye holes and gently wrap paper to the back, use more Modge Podge to secure it.

8. Start decorating the mask by adding an adhesive border strip to the top edge.

9. Then fussy cut some flower from patterned paper and Modge Podge them down.

10. To add a ruffle adhere a strip of crepe paper to the back of the mask, make sure to keep it away from the eye holes.

11. Pull and stretch the top edge of the crepe paper to give it an even more ruffled appearance.

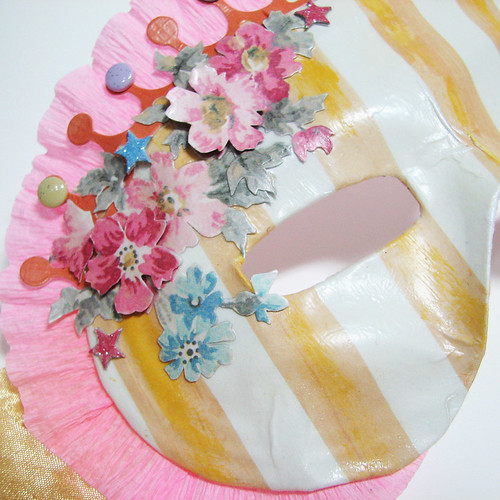
12. For a little dimension, fussy cut more flowers and layer them with dimensional adhesive on top the Modge Podged flowers.

13. Embellish as much as you like. I added some chipboard stars and candy dots as finishing touches.

14. Add ties by adhering about 18 inches of ribbon to each side of the mask, cover everything up with the felt piece you cut earlier.
 All finished!
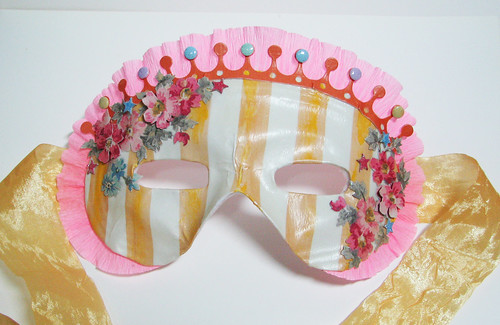
I love the way this turned out! It reminds me of those old paper mache masquerade masks. I don't have any girls, but I think I might just wear this myself :)
Patterned Paper: (Coney Island, Come One, Come All), Chipboard Shapes, Glitter candy Dots, Assorted Borders: all from the Funhouse Collection from GCD Studios, Crepe Paper: Mon Ami Gabby, Decoupage medium: Modge Podge, Ribbon: May Arts, Other: Mask, Craft Felt
Have a great day!

Wowwwwwwwwwwwww! This is GORGEOUS!! Thanks for the how-to! :):):):):):):):):):):)
ReplyDeleteoh wow, this is fabulous!! I want one!
ReplyDeleteSo FAB! LOVE this! *and ALL your work!
ReplyDeleteReally cool project!
ReplyDeleteHow creative!!!!!!!
ReplyDeletee.
so incredibly created and talented. what a cute mask!!! love it.
ReplyDeleteGreat idea! Thanks for the tutorial.
ReplyDelete