7.30.2012

Baby Mobile

This is one project that I have been meaning to do for quite awhile. When we bought our sweet lil girl's bedding (she is 6 months ), I never found a cute mobile that I liked. I thought I can just make one later. The colors of her bedding are green, brown, cream and a pop of aqua blue. I knew the Bonjour collection was perfect to create her own baby mobile for her crib.
So here is the baby mobile that I created for her room:

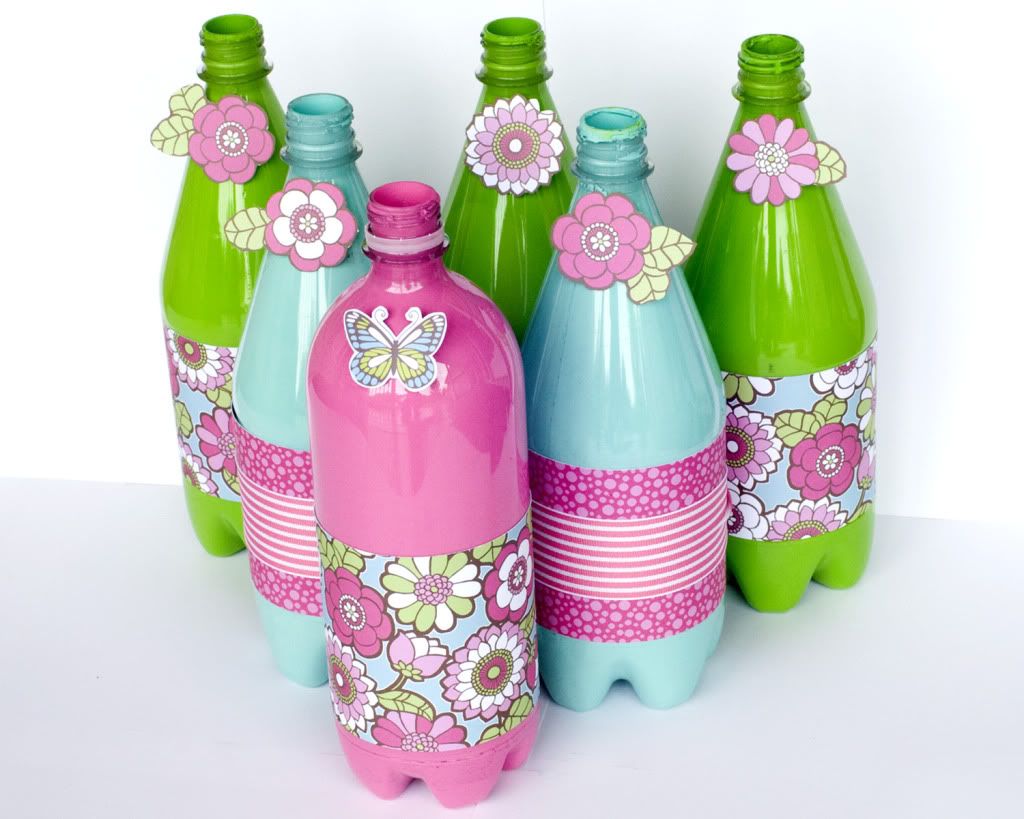
 It was really fairly easy to do, once I got all my supplies together. I pulled the papers I was going to use and then grabbed some other crafting supplies for the project. The wooden holder is actually the top of a birdhouse that I found at the crafting store, but I just used the top portion of it.
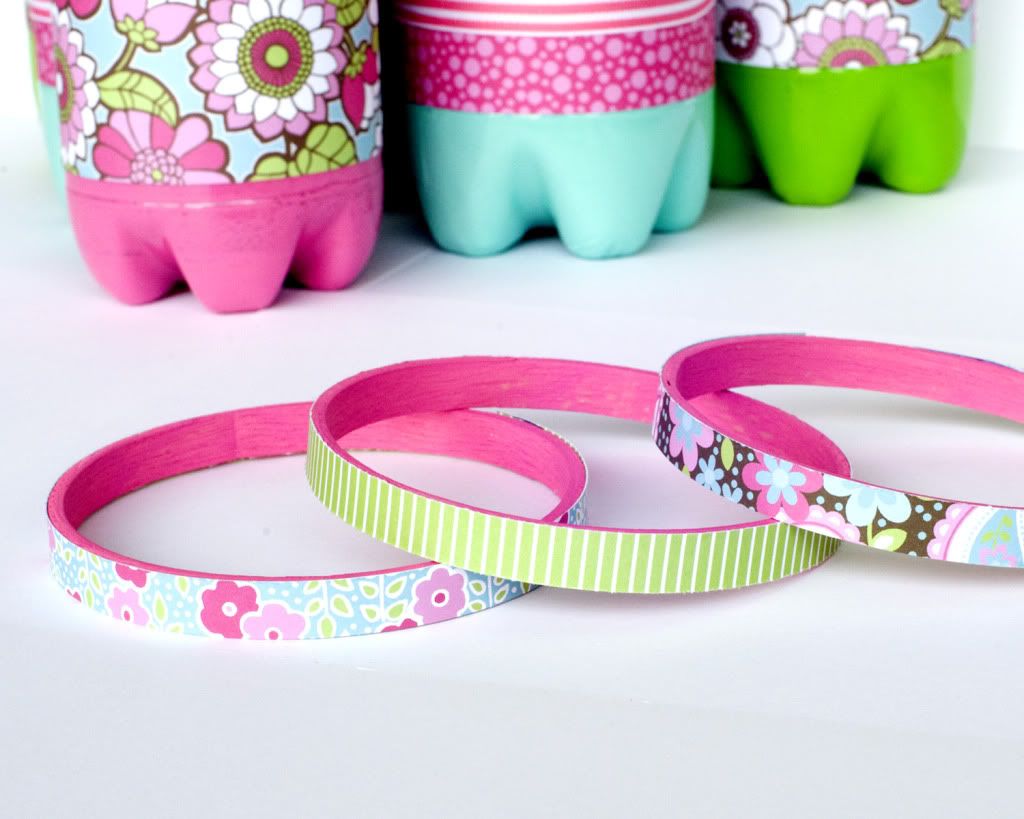
Next, I cut out all my circles and lined them up and added the stretchy cord down center of the circles. I glued them down to secure them onto the stretchy cord.
Next I took the hot glue gun and made large blobs of hot glue and placed the strips of stretchy cord with the circles and placed one on each corner of the wooden house top. I wanted to use alot of glue to make sure they were secure, and nothing came loose and fell on my lil sweetheart. I even added a butterfly to the center to give her something to focus on from her angle.
 Then I finished off the project with randomly adding several butterflies that I either punched out or cut out. I also added some stars with red and pink, to just add a bit of contrast to the project. Normally I would add bling, but I stayed away from using smaller pieces that may come loose, and I wanted to avoid any chocking hazards possible.
And waaahhhh-laaa.. Here's the finished project from her perspective:
This is something that could not only be used for a baby crib, but as an accent in any child's room.


Supplies:
Paper- Bonjour Collection: Conjour, Cafe Mosaic, Les Fleurs, Ooh La La, Butterfly Flutter.
Paper- Country Charm: Super Star

Other Supplies: wooden lid from birdhouse, jewelry stretchy cord, paint, glue gun with hot glue, pop dots, butterfly and star punches.


7.28.2012

Crafty KIDS Week: Silly Tissue Box

It's crafts for kids month on the GCD Studios blog! Today I'm going to show you how to make a cute tissue box monster using your scrapbooking supplies. Maybe you've seen them floating around Pinterest?


Here's the photo I used as inspiration. You can see the original blog post here. Instead of using spray paint I'll be using patterned paper.

I cut a template out of scrap cardstock that will cover the hole in the tissue box. Turning my paper upside down, I traced the shape then cut out using an Xacto knife.

I love this diagonal striped paper from the Country Charm collection.

 I then freehand cut a few strips of white cardstock to resemble teeth and adhered these over the opening.

Place the paper over the tissue box, lining up the holes. I used a bone folder to crease my cardstock and make it easier to fold over the box.

Then I made a few more cuts with scissors to wrap up the box. I used regular adhesive, my ATG gun, for this. I didn't want the mess of liquid adhesive and it worked just fine.

Here's what the box looked like after I covered it with patterned paper.

Another good use for recycling those egg cartons -- monster eyes ;)

I used my circle punches to punch out eyes for my monster.

Here's my finished project! I used another sheet of patterned paper to punch polka dots out of and adhered them to the box to add a pop of color. Honestly I did try to get my daughter to pose with this guy for a photo op, but she ran the other way. Even though I explained it was a "friendly" monster...ha!

Thanks for stopping by today and I hope you'll try this with your kiddos soon!
Jennifer Chapin 2012 GCD Studios DT, Jennifer Chapin 2012 GCD Studios Layout Gal

7.27.2012

Crafty Kids Week: Finger Puppets

With my boys out of school for the summer, keeping them occupied can be a challenge. Luckily, my kiddos like to get crafty with me, so I planned this simple craft activity for an afternoon and it was a hit:


Monster Finger Puppets! Using all the papers in the Flower Child collection, my son Colten and I made these simple paper puppets.


To recreate your own, see the following directions or check out the video Colten and I made.


1. Trim a piece of patterned paper to 2.5" by 6" and fold in half.
2. Cut a half oval from the paper, starting opposite the fold. You should end up with two identical pieces.
3. Add glue to the edge of one piece.
4. Add pieces of yarn (hair) to the top of the glued half oval.
5. Adhere the other half oval to the first.
6. Add googly eyes and draw a mouth or other details.
7. Allow to dry completely, then play!

Have fun!


Supplies Used: Flower Child collection by GCD Studios; googly eyes; yarn; glue; scissors; Sharpie marker.


7.26.2012

Crafty KIDS Week: Ring Toss


Hello!  Tegan here and I am glad you could join us for some ring toss fun today!  I painted the inside of plastic bottles and covered the outsides with paper from the Sweet Tooth collection and~ Wow!!  Instant cuteness!  Take a look...


                                                     I love how they just scream SUMMER!!


To make the ring toss bottles-
1.  Start by adding about 1 to 1-1/2 teaspoons of water to a 2 oz. bottle of enamel craft paint.  Acrylic works too, but the enamel seemed to work a bit better for me. 
2. Shake the paint bottle well and squirt about half the paint into your empty ring toss bottle.
3. Cover the top of the ring toss bottle and shake very well so that the paint covers the entire inside of the bottle.
4. I had to reshake the bottles a few times over the course of a day or two because some sections of the original paint did not stick.  But not a big deal~ I think the extra effort was well worth it!
5. Once it seems like the insides of the bottle are well coated, turn bottle upside down so that the excess paint runs out and the remaining paint dries.
6. Decorate your bottles using the Sweet Tooth collection.

                                    And since you can't have a ring toss game without the rings...
I bought some wooden embroidery hoops at the craft store. I picked out ones that were slightly wider than the base of the bottles that I painted.  I only used the inside portion of the embroidery hoop~ I painted them and then covered them with paper...  Super easy and super cute.    Have a great day!


GCD Studios Papers:  Sweet Tooth, Peppermint Plaid (1558) - Sweet Tooth, Chocolate Kisses (1554) - Sweet Tooth, Sprinkles (1560) - Sweet Tooth, Sour Cherry (1559)


Tegan Skwiat GCD Studios DT, 2012 GCD Studios Layout Gal

7.24.2012

Crafty KIDS Week: Toilet Paper Roll Shakers!

Photobucket

Guiseppa here and I love the month of July.  For us over in the USA...we celebrate the 4th of July and for those of us who live in Utah...we also celebrate July 24th, the birth of our state.  So, how about we get the kids more involved with the celebrating.

Today I want to share a quick noise maker that you and your kids can make in just minutes.  These are perfect for your kids to shake and make noise while watching all the fireworks go off.  I know that  my kids love to make noise, so chances are that yours do too.

First you want to gather your supplies and there really isn't much to these.
1. Toilet Paper Rolls
2. Patterned Paper for decorating
3. Packing Tape
4. Pasta, beans or some other small solid objects that will make noise when shaken.


Photobucket

Next you will want to tape one end off of your toilet paper roll and make sure it is completely sealed so nothing will come out.  Don't worry about it looking pretty right now because you will be covering it up with patterned paper.

Photobucket


Take your shaker filler and fill up the toilet paper roll 1/3 of the way.  Don't worry if the filler sticks to the tape inside.  That won't matter when your kids are busy shaking away.  Then, you will want to seal the other end with more packing tape so none of the filler will come out.

Photobucket

Next, you will want to measure out how much patterned paper you will need to cover your toilet paper roll in.  Then use some strong glue and glue the paper to the roll.  Hold in place for a few minutes to make sure it is dry and will stay in place.

Photobucket

I wanted to make my shakers look festive, so I made these fun little flowers that look like fireworks when they explode in the sky.  So, first I cut strips of patterned paper and cut little slits the whole length of the strip, making sure not to cut through the strip.

Photobucket

I then started rolling up the paper strip from one end making sure the pattern that I wanted showing was facing me when I started rolling.

Photobucket

Once I was finished rolling I glued the end and then began folding all the little tabs down, going around in a circle.  You firework flower should end up looking like this.

Photobucket

Finally I glued these flowers to my shaker tubes!  How fun and cute is this?

Photobucket Photobucket Photobucket Photobucket So, 
So, I was thinking...and you can make these fun shakers for any occasion for your kids or just for fun (if you can stand the noise) Thanks for stopping by and I hope enjoyed my project!

Supplies: patterned papers: GCD Studios Oh Happy Day Collection ( Meagan and Amber's Avenue), packing tape, toilet paper rolls and pasta.


Photobucket

7.22.2012

Celebrate Week: Boy Layout- New Sketch

Hello everyone, it's Pam here sharing another layout and sketch for you. The theme for today's post was created a boy birthday page. This was so much fun to do. I envisioned large balloons floating around my page and some of them filled with photos of my son. I chose circles because they look almost exactly like balloons and they are easier to work with.  All of my cutting was done with an exacto knife and clear circle cutter not an electronic die cut. The paper I chose were just perfect for my page. There were so bright and fun and really made my black and white photo stand out over the brown background paper. Here is my page.


The papers I used from the GCD collections are: Bonjour, Sweet Tooth, Flower Child and Country charm. My embellishments are from MME and Fancy Pants. I created this sketch to go along with my page. Feel free to use it, alter it, flip it, or gain inspiration from it.  :)


I hope you are able to use this as inspiration for you page! Thanks for reading my post today :)

Supply List: GCD Studios Flower Child, Bonjour, Sweet Tooth, & Country Charm Collections, Provocraft Coluzzle, My Minds Eye die cut, Fancy Pants Chipboard.

7.21.2012

Celebration Week: Birthday Cards For A Girl

     Hey there friends! This month GCD Studios is celebrating children. From children's crafts to children's toys and home decor to cute little cards for kids as well. Today I'm going to share two cards that would be perfect for a girl's birthday. 
"Floral Tween Birthday" Card
 This first card would be perfect for a tween's birthday with the pretty floral patterned paper banner and the cute little banner and polka dot stamped images.
 Layering a few of the banner pennants with some foam tape makes some of the patterned paper stand out! Try arranging the banner asymmetrically on the card to draw interest to it. A few pearls add the finishing touches.
"Birthday Gift Trio Card" Card
This birthday card would be great to give to a little girl! What little girl wouldn't like the cute paper-pieced presents and scalloped ribbon detail? I stamped presents on patterned paper and then pieced them together, choosing brightly colored ribbon to add some softer texture.
I stamped the polka dot panel in the background to create a confetti-type festive backdrop for the gifts. I added foam tape to the center gift to give this card some dimension. Sometimes you don't need a sentiment if the theme of the card is straight-forward, hence the birthday gifts!
Supplies: "Floral Tween Birthday" Card: Splendor collection: Heirloom (1678), Letter Tiles (1680), Posies (1683), Woven Chevron (1684), Tiny Blossoms (1685). Other Supplies: Clear stamps: Sentiment (PTI), Dotted border and scallops (Avocado Arts). Ink (Tsukineko). Pearls (Queen & Co.) White Cardstock (Bazzill). Corner rounder (Fiskars).
"Birthday Gift Trio" Card: Oh Happy Day collection: Emily Rose (1763), Hailey (1767), Priscila (1768), Savannah (1772). Splendor collection: Tiny Blossoms (1685). Other Supplies: Clear stamps: Scallops stamp (Avocado Arts). Ink (Tsukineko). White Cardstock (PTI). Sew Ribbon Tool (We R Memory Keepers).

7.20.2012

Celebration Week: Your Invited

There's no happier day than your birthday, and the Oh Happy Day collection is perfect for creating the perfect invitation to your soiree. Inspired by the garden feel of these papers, I created a garden party-themed invite, bursting with blooms and feminine detail.


Beginning with a base floral pattern, I layered a paper doily and a fussy-cut rose and banner. Lifting the last piece with foam adhesive gives the card dimension. The banner is the perfect place for the "you're invited" sentiment.


When adding party details to your invitation, bring the design from the outside in. I fussy-cut another rose and added it to the corner of the inside of the invitation, repeating the motif and adding color.


Who wouldn't want to attend your birthday party when given an invitation like this?

Supplies Used: Savannah Patterned Paper (Oh Happy Day Collection); Andrea Patterned Paper (Oh Happy Day Collection); Cardstock (Georgia-Pacific); Sticker Sentiments (SRM Press); Doily.