Teri here today, and I'm excited to share a new and fun way to alter buttons.
I am going to show you how to make paper-rimmed buttons with patterned paper from the Melody Ross' Homespun Chic collection for GCD Studios.
Paper-rimmed buttons? You are thinking, "What?" Yeah. I know. ;)
So here is a peek of what I am talking about.
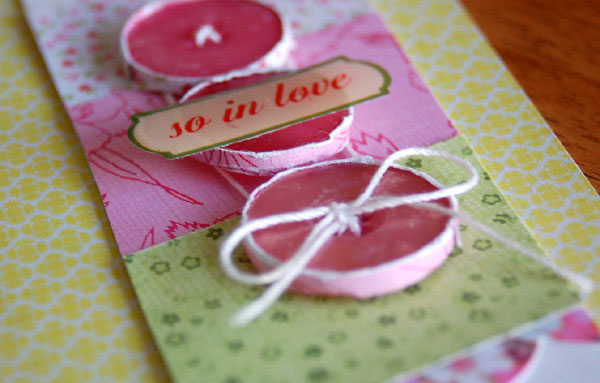
Cute, huh?
Paper-rimmed buttons are so easy to make. Let me show you how.
You are going to need: buttons; patterned paper; a bottle of glue; scissors; nail file or sand paper; and a paper trimmer.
And here's how to make a paper-rimmed button.
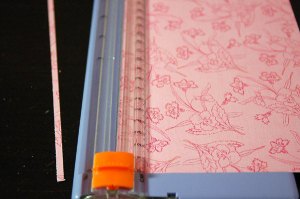
1. Use your trimmer to cut a strip of patterned paper. The paper should be wide enough to fit on the edge of your button.
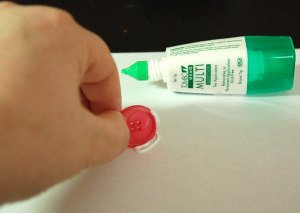
2. Squirt a dab of glue on a piece of scratch paper. Roll the button through it. Don't worry if excess glue gets on your button. Just clean wipe it off with a rag or paper towel before it dries.
3. Roll the paper strip around the button. Trim away the excess paper.
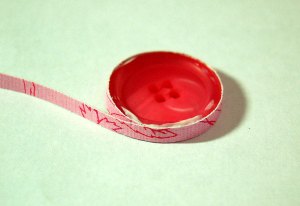
4. Use a nail file or sanding blog to sand the edges of the paper.
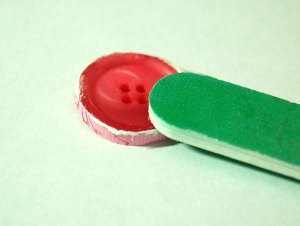
5. The end result? A really cute button (or two or three).

And here's a card I made with my buttons.

I think the paper gives the buttons a little extra personality.

And here's another card I made with my buttons.

Stinkin' cute!
Thanks for stopping by!
I'll be back again soon!
Teri Anderson
for GCD Studios

wicked cute buttons!!! :)
ReplyDeleteInteresting new twist on buttons! I likey! xx Amanda
ReplyDeletewowzers what a cute idea!!! I never in a million ideas would I have thought of it! Lovin' those cards!!
ReplyDeleteWhat a fun idea! Love this and definitely will be using this idea in the near future!!!
ReplyDeleteSo funny! Cheryl took the words right out of my mouth! LOL Too cute! xxD
ReplyDeletetotally cool:-))
ReplyDeleteWhat a SUPER idea!!! BEAUTIFUL cards!!!
ReplyDeletethat is really cute! and what a great way to use those nd scrps that are at the bottoms of some of those DPs too....love this!!!
ReplyDeleteThat's a darling way to incorporate some real interest on buttons!
ReplyDeleteThese are awesome, i've never seen anything like it before! Thanks for sharing!
ReplyDeleteVery clever Teri!
ReplyDeleteSo cute... I would have never thought of this!!! I can't wait to give it a try!!!
ReplyDeleteTotally sweet-I have to give it a try.
ReplyDeletevery, very cute!!
ReplyDeleteWOW! I love the fun look this adds to the buttons!
ReplyDeleteLove that Pals card. Super idea.
ReplyDeleteThis is such a great way to alter buttons! thanks for sharing.
ReplyDeleteCute idea! Love it!
ReplyDeleteLove this Teri! I am going to try it for sure.
ReplyDeleteOMGoodness .. such an adorable idea!! At first glance I thought you were using fabric to wrap the button which, I guess, would likely work well too. Hmmm ...
ReplyDeleteLove those, Teri!!!!
ReplyDeleteOMGoodness, I LOVE this Teri! What a fun way to dress up your buttons!
ReplyDeleteGreat creative idea! Thanks!
ReplyDeleteFabulous idea! Love it!
ReplyDeleteOh Teri- these are just too adorable! great great idea!
ReplyDelete