first up today...
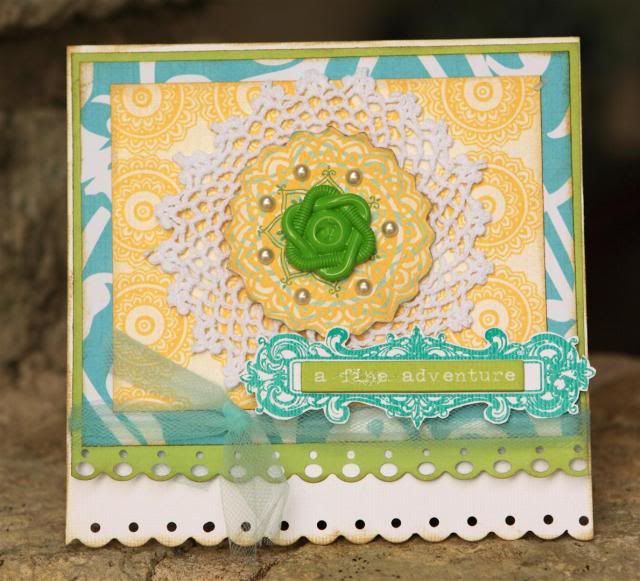
Here is a beautiful card from our GDA :)
Jacquie used our new Ava collection
Thanks Jacquie for this beautiful card.

-------------------------------------------------------------------------------------------
Hi all!
Teri here, and I'm excited to be back on the GCD Studios blog today.
I've got a fun Hodge Podge Border technique to share with you.
This is super easy technique. To pull it off, you are going to need:
* A circle punch
* Oval or circle Chip Art shapes
* Scissors
* Patterned paper from GCD Studios (of course!)
* Wet glue
The first thing you are going to want to do is punch several circles from patterned paper. Cut several of them in half. Set aside a few half circles to use just as they are. Then, glue the rest of the half circles on top of your remaining circles. Once those half circles are adhered to the whole circles, cut them in half.
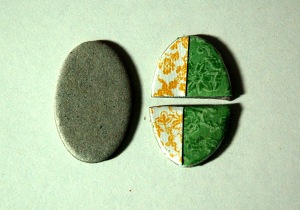
The process will look similar to this.

Now, set those circles aside and pull out some small circle and oval Chip Art chipboard shapes. Apply a thin layer of glue onto to the shapes and then place strips of patterned paper on them. Trim away the excess paper. Sand the shapes' edges (if desired) and then cut the shapes in half.
Your shapes will go from looking plain to something like this.

Now comes the fun part! You get to use the half circles. :)
To use them, simply line them up and you'll get a fun Hodge Podge border.
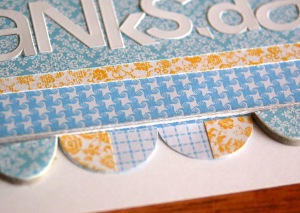
Here's a card where I used put together a Hodge Podge border using Chip Art chipboard shapes and solid half circles.

For this one, I several half circles that I didn't add anything extra to. I thought it made the chipboard pieces stand a little more.

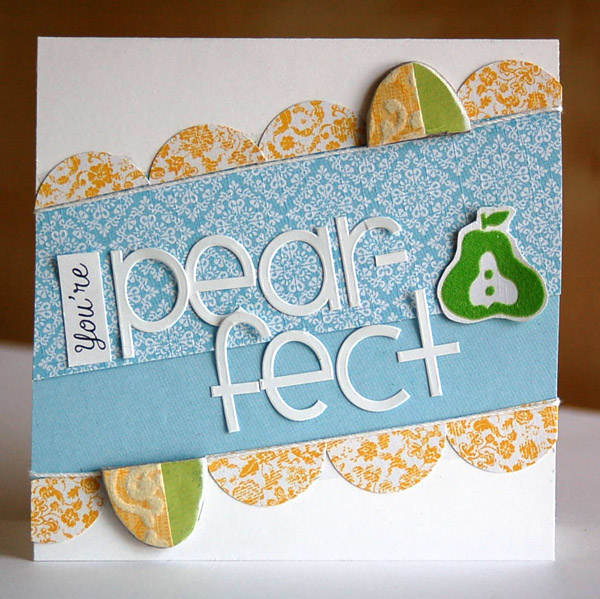
And here is one more card I made with the Hodge Podge trick.

I used both kinds of circles, as well as ones made from Chip Art chipboard ovals, on this one. Because of that, I tinkered with the half circles quite a bit before adhering them permanently to the card. I wanted to make sure the patterns complimented each other well.

Something else that is fun to do with a Hodge Podge border is to make a banner for your card. Run the shapes in an angle along a piece of string. Add bows at each end. Add a celebratory sentiment and you are good to go.
That's all for now. I'll be back again soon!
Teri
for GCD Studios
Hi all!
Teri here, and I'm excited to be back on the GCD Studios blog today.
I've got a fun Hodge Podge Border technique to share with you.
This is super easy technique. To pull it off, you are going to need:
* A circle punch
* Oval or circle Chip Art shapes
* Scissors
* Patterned paper from GCD Studios (of course!)
* Wet glue
The first thing you are going to want to do is punch several circles from patterned paper. Cut several of them in half. Set aside a few half circles to use just as they are. Then, glue the rest of the half circles on top of your remaining circles. Once those half circles are adhered to the whole circles, cut them in half.
The process will look similar to this.

Now, set those circles aside and pull out some small circle and oval Chip Art chipboard shapes. Apply a thin layer of glue onto to the shapes and then place strips of patterned paper on them. Trim away the excess paper. Sand the shapes' edges (if desired) and then cut the shapes in half.
Your shapes will go from looking plain to something like this.

Now comes the fun part! You get to use the half circles. :)
To use them, simply line them up and you'll get a fun Hodge Podge border.
Here's a card where I used put together a Hodge Podge border using Chip Art chipboard shapes and solid half circles.

For this one, I several half circles that I didn't add anything extra to. I thought it made the chipboard pieces stand a little more.

And here is one more card I made with the Hodge Podge trick.

I used both kinds of circles, as well as ones made from Chip Art chipboard ovals, on this one. Because of that, I tinkered with the half circles quite a bit before adhering them permanently to the card. I wanted to make sure the patterns complimented each other well.

Something else that is fun to do with a Hodge Podge border is to make a banner for your card. Run the shapes in an angle along a piece of string. Add bows at each end. Add a celebratory sentiment and you are good to go.
That's all for now. I'll be back again soon!
Teri
for GCD Studios

Beautiful cards! I love the bright beautiful colors on it's a fine adventure.
ReplyDeletecute!!
ReplyDeleteSo fun and funky(in a really good way)Teri! I love these!
ReplyDeleteJacquie's card is beautiful!
So many great cards!
ReplyDeleteFabulous idea! Cute cards!
ReplyDelete