
Lovely cards! And, awesome dimensional stickers! Fingers crossed. :)
Kelly Massman: "That is gorgeous! I'm heading over there to see more of her work!"
Beautiful layout! I have never heard of the Chip Art Collection tools, so cool. Love that "D", have never seen such an amazing chip board letter.Thanks for the chance. :)
Send me your info at hsonboul@gcdstudios.com AND place your prize info in the subject line :)
CONGRATS girls!
~H
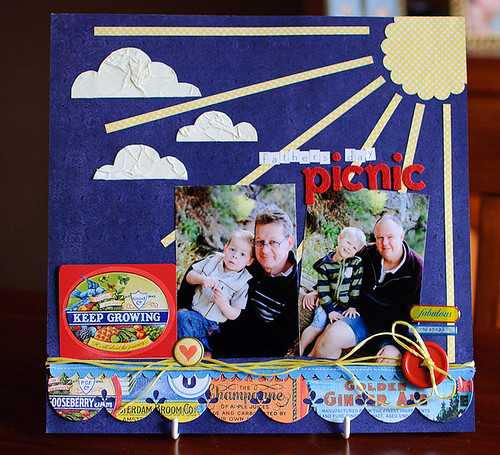
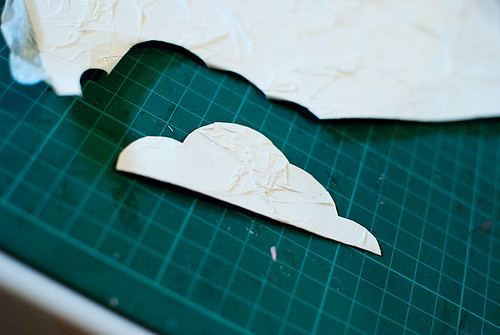
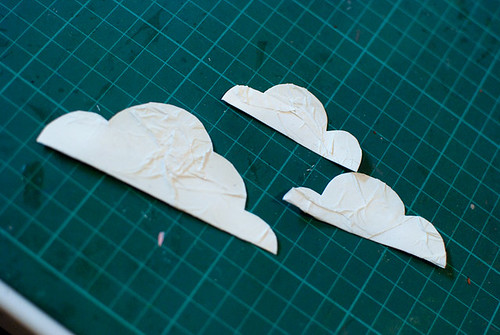
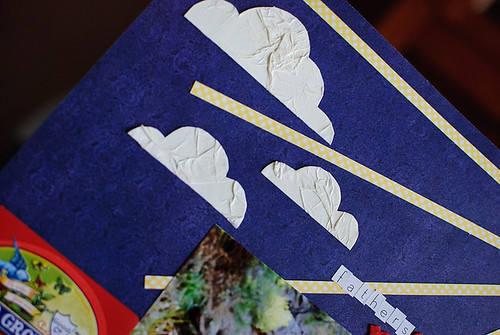
This is the layout that I created with the clouds I made using this technique ...
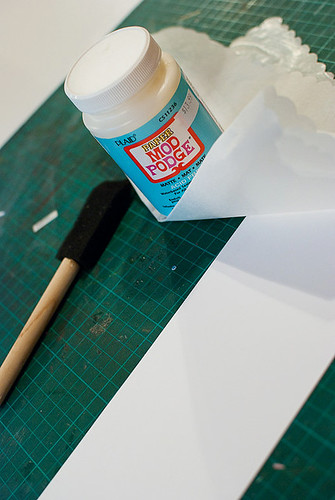
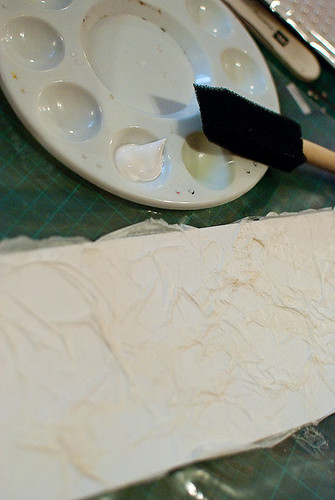
Step 1 - Gather your supplies: white cardstock, white tissue paper and mod podge
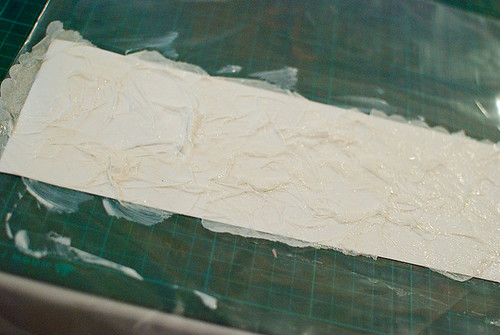
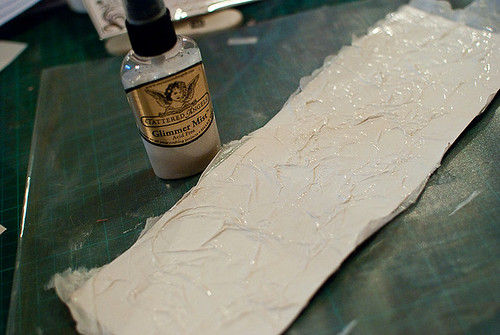
Step 5 - I found it was creamer than I wanted when it dried, so I painted it with white paint and again set it aside to dry.

Step 6 - I then sprayed it with a pearl Glimmermist to make it shiny and again set it aside to dry.
All products used for this layout are from the Artsy Urban range by Melody Ross for GCD Studios except for the letters which are American Crafts.
Cheers
Kim
I love this little tutorial!!!! Thanks for sharing and congrats to the winners!
ReplyDeleteHow clever, thanks for the tutorial!
ReplyDeleteCongrats ladies! Such a great technique!
ReplyDeleteamazing technique ~ thanks for sharing!
ReplyDeleteCool technique. And, I'm excited about the stickers, thank you so much. I am looking forward to using them!!
ReplyDeleteSo fun - love this!
ReplyDeleteAbsolutely adorable!! Love this technique!
ReplyDeleteReally Neat idea !! So cool !
ReplyDeleteGreat technique! Those clouds are adorable!
ReplyDeleteFabulous l/o!!
Congrats to the winner!!!
ReplyDeleteAnd what a cool technique Kim! TFS!!!